Using a white background, also known as high key photography, is one way that photographers create an expressive or joyful atmosphere in their photos. This technique is especially popular in portrait photography when the photographer wants to make sure the subject is the focus of the photo.
Looking to improve your photography? Just enter any questions you have about improving your photography below and hit send and get answers & feedback instantly - for FREE! Submit QuestionsTips to Create a White Background in High Key Photography

Photo by Jeremy Alford Licensed Under CC0
If you’re trying to create a white background in portrait photography, here are few tips so that you can understand why this technique works so well than what you’re currently using (and how you can go about it when it’s done on-the-go):
A White Background Eliminates Distractions
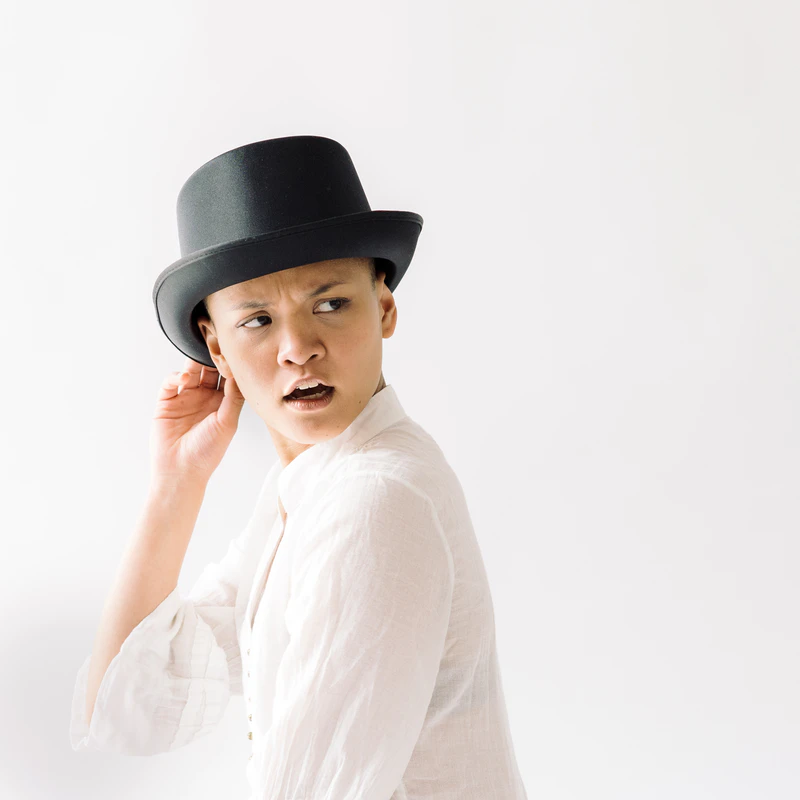
Photo by Frank Busch Licensed Under CC0
It can be a little challenging to tell when you should use a solid background for your portraits and photos, but if you need to eliminate distractions, white backgrounds can help.
If your subject is wearing bright colors or patterns, a white blanket or a bright white piece of paper can help them pop against the background if it’s white.
Using a color white background for children and other photos is especially popular since a lot of people associate the color with innocence or youthfulness.
Attempt to Avoid Overexposing the Background

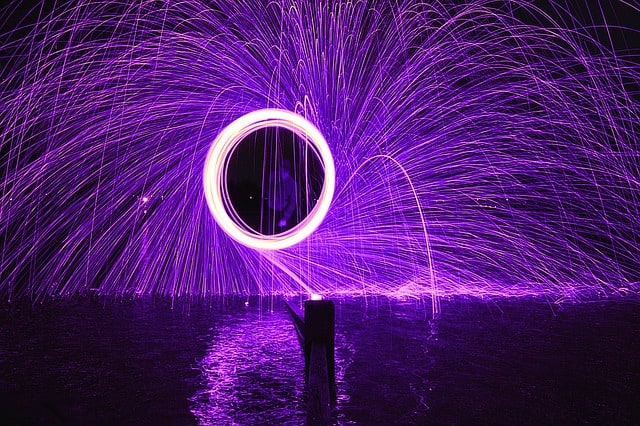
Photo by Lukasz Szmigiel Licensed Under CC0
The problem that a lot of photographers struggle with is overexposure in their background. Even if the flash technique or the sunlight technique seems to work well, it can make your subject and the background look way too overexposed in the final photos. Not even the right background can rescue an overexposed white photo.
What you can do is start with your camera at its lowest power and slowly increase it one step at a time until you’re no longer dealing with overexposure in your background. While this can take a little bit of time and your subject might be impatient, it’s usually better to wait around for a few minutes to find the right setting than end up with an overexposed image.
Use a Little Sunlight
Beginners might assume that all they need for a high key photography business and photos is just an image bright white background or a piece of white paper for a background, and then their work is done. Oh, and don’t forget to adjust your camera settings. However, what they fail to consider is that a lot of white backgrounds won’t appear completely white in photos.
Instead, the white backgrounds will probably appear closer to an off-white or gray color since you have the shadow of your subject to deal with as well. Even if that isn’t the case, the flash can sometimes mess with the background’s tone as well.
Luckily, this background problem isn’t too complicated that you can’t solve it with a little sunlight. Try asking your subject to kneel in front of a light source, such as a large window or glass door.
To avoid overexposure on the face of your subject, you’ll probably need to add a couple of stops of exposure compensation in your backgrounds white.
Try a Flash on the Ground

Photo by Tereza Rubá Licensed Under CC0
Unfortunately, you don’t always have the sun at your disposal. If you aren’t near the best source of light or it’s too rainy outside for the sunlight to stream in, you’ll have to be resourceful. One alternative solution is to put a flash on the ground.
Place your model around four of six feet away from the background, and hide the flash behind the subject so that you can’t see it in the final product. If you’re going to use another flash, you’ll need to find another camera to provide that.
The good news is that it doesn’t need to be a fancy professional camera that’s going to cost you thousands of dollars. A lot of photographers keep an off-brand camera that they picked up for a few dollars for this very purpose. Even if it costs you fifty or sixty dollars, a one-time investment might be worth it if you plan to use the flash technique in multiple shoots and backgrounds.
Tricks for Lighting White Background Portraits
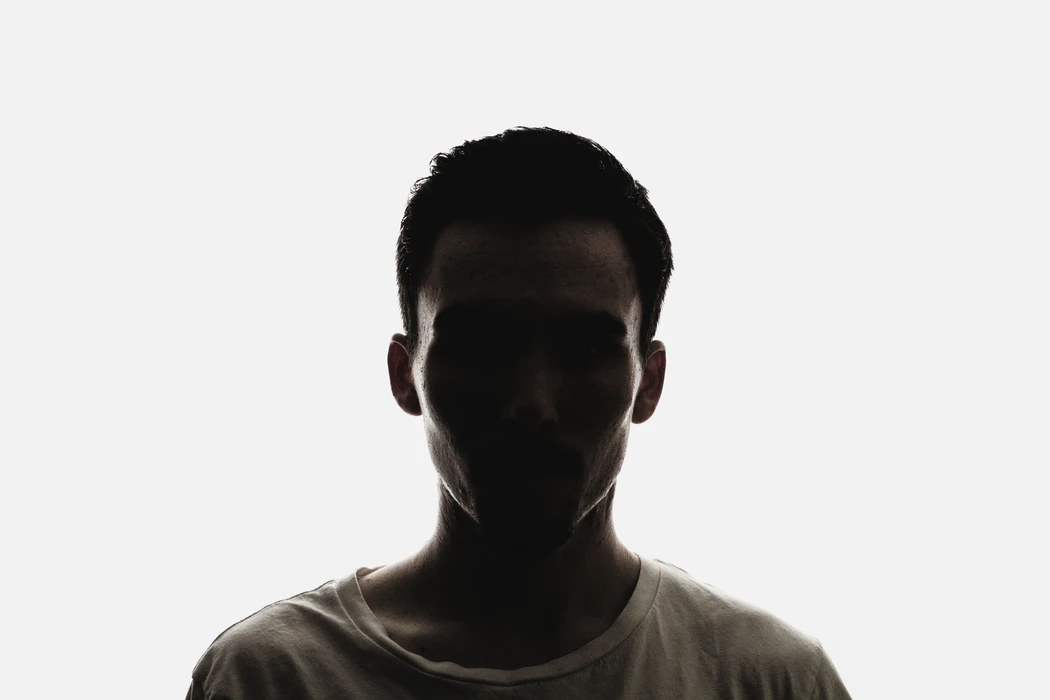
Photo by Andrew Stapleton Licensed Under CC0
When it comes time to light your background for portraiture, you can save a lot of time if you have a gameplan beforehand. Not only will your model probably thank you, but it could even make your editing process a little easier as well.
There are a couple of techniques that you can try out. One method might work better than the other, or you might want to switch it up depending on the shoot.
Pose the Client Against a Background With a Single Light
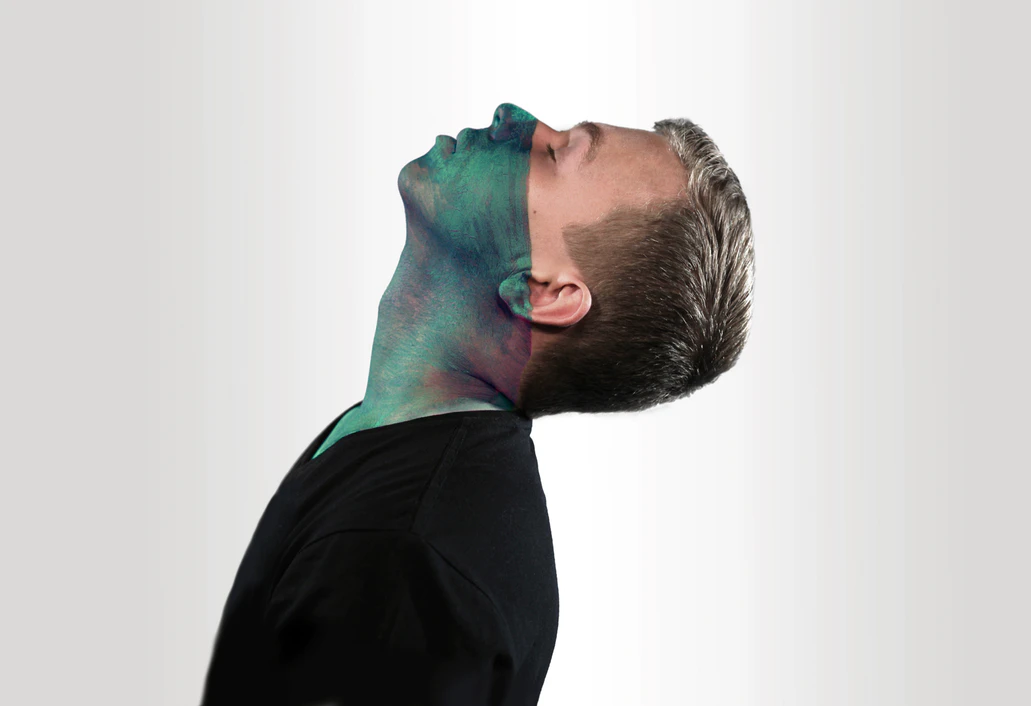
Photo by Christopher Campbell Licensed Under CC0
This technique is a little different from anything we’ve talked about before, especially since it doesn’t have to rely on background light. In fact, you should only need one light that you can place a little bit farther away from the subject. You’ll want to make sure your model stands pretty close to the background otherwise this method won’t do much for you.
Although you’re only using one light, the subject is still close to the bright background, and it follows the “depth of light” principle. The light doesn’t have the opportunity to waver in intensity or “fall off” since the subject is so close to the background.

Photo by Filipe de Rodrigues Licensed Under CC0
The only potential downside of this technique is that it doesn’t provide the photographer with tons of control over their lighting. You’re still only working with one light, and you can only adjust it as you move the light around.
You should end up with a bright background or bright white backdrop that looks great but doesn’t feel overexposed. The background tends to be bright, but not completely white.
If you aren’t sure whether or not you’ll like the final product, try looking at new stock portraits or stock photos that have used this technique and see what you think. A lot of sites have stock images added weekly or English our company Shutterstock.
Put Distance Between the Client and the Backdrop With Two Lights
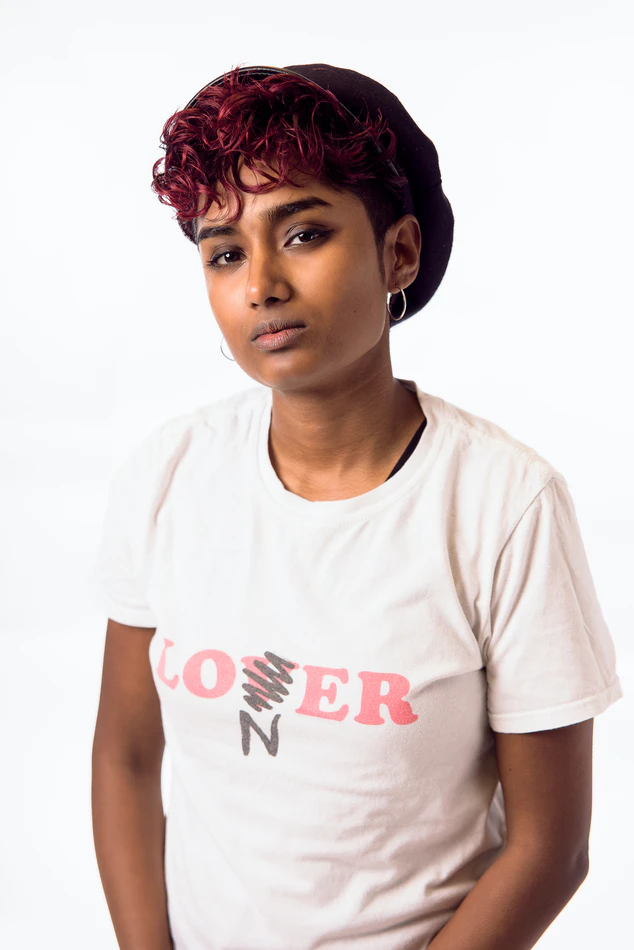
Photo by Jassir Jonis Licensed Under CC0
If you’re interested in a completely white background, the technique with two lights is probably the best choice for you. With this method, you’ll want to put a little bit more distance between the subject and the background so that your two lights don’t spill over on each other.
Once you’ve got two lights, you’ll use one to light your background and use the other to light the subject. If these lights are too close to each other, you’ll end up with a picture that feels overexposed.
Keep in mind that, in order to make your background look completely white, you’ll need to overexpose the image. The goal is to find that “sweet spot”. You want enough distance between the model and the background without overexposing too much.
Mix it Up

Photo by Tyler Nix Licensed Under CC0
These two bright white techniques display the basic principles behind achieving a big white or bright background, but if you truly want to make sure you’ve got it down, try following these essential tips for an even better result:
- Go for soft light. The goal in either technique, whether you want a bright background or a white background, is to illuminate your light evenly and get it ready for a soft white effect. It’s all too easy to end up with white hot spots that make the image appear white or uneven if you don’t get it right. You can try diffusing the light sources with softboxes or umbrellas so that you minimize the risk of white hot spots.
- Light the background in layers to add depth. A common mistake is to turn every single light on at once, and then try to figure out how to fine-tune them together in a way that works. You might be able to do this, but it can also be incredibly frustrating and time-consuming if you get stuck with this every single time. A much better solution is to turn your lights on at different times so that you get to light the background “in layers.” Position your lights one at a time so that you can pay attention to what every individual source is doing. If you light everything at once, you might not pick out problems until after you’ve snapped the photos.
- Avoid light spills if you can. It’s easy to assume that, once your subject and background have their light sources, your work is done. Unfortunately, that’s rarely the case. There’s one more essential step you’ll need to take called flagging. If your background lights spill out, you’ll most likely end up with ugly hot spots, a washed-out model, and other marks of overexposure. By flagging the background lights, you’ll hopefully prevent these issues from popping up later on.
- Accentuate your edges. When you photograph a subject or photos, you want to make sure that their form has a clear definition with a white background. With overexposure, it’s all too easy to lose your model with blurred edges. You can add definition by creating light shadows from the model’s shape. This can be difficult to do with a white background, but a lot of photographers will place black flags or v-flats just out of the frame. This negative fill will not only add key shadows, but it can also prevent those background lights from spilling out. Even if you aren’t too worried about definition, a lot of photographers still add black flags to the shoot.

Photo by Filipe de Rodrigues Licensed Under CC0
The high key photography business might seem simple at first glance, but it can be a little more complicated than beginner photographers think. However, if you follow the photography tips above and practice using a white background, you’ll feel like an expert in almost no time.