
It can be frustrating to take a great photo, get your subject and composition just right, only to discover issues with the exposure. However, just because you have exposure issues doesn’t mean that all is lost. A simple technique known as dodge and burn can help you fix exposure issues, both over- and underexposure, and make your photo look incredible.
Looking to improve your photography? Just enter any questions you have about improving your photography below and hit send and get answers & feedback instantly - for FREE! Submit QuestionsWant to learn more about dodge and burn and how to use this helpful technique? Read on to find out more.
What is the Dodge and Burn Technique?
The dodge and burn technique is used to lighten or darken areas of a photo. Dodging is used to lighten a spot on the photo, and burning is used to darken a particular area. You can use just about any shape or pattern for the specified area.
Dodging and burning photographs is a process of manipulating the exposure on a print during the post-processing phase. You can create dodge and burn photography effects manually in a dark room. If you are using digital photography, you can use a program like Photoshop or Lightroom to digitally create this effect.
Why You Would Dodge and Burn Your Photos
In some cases, your entire image will be over- or underexposed. In this case, you can treat the entire photo and correct the issue. However, in most cases, certain areas are overexposed, while other areas are underexposed. You’ll need more targeted techniques, like dodging and burning, to correct the image.
There are a couple of reasons to use the dodge and burn technique. First, if you have a great photo with some exposure problems, you can use these techniques to make the image closer to reality. You can also direct your viewer’s attention to important parts of the photo. You also have the option of using dodge and burn techniques to create some cool artistic effects in your photos.
[cc_textad]
Example Images
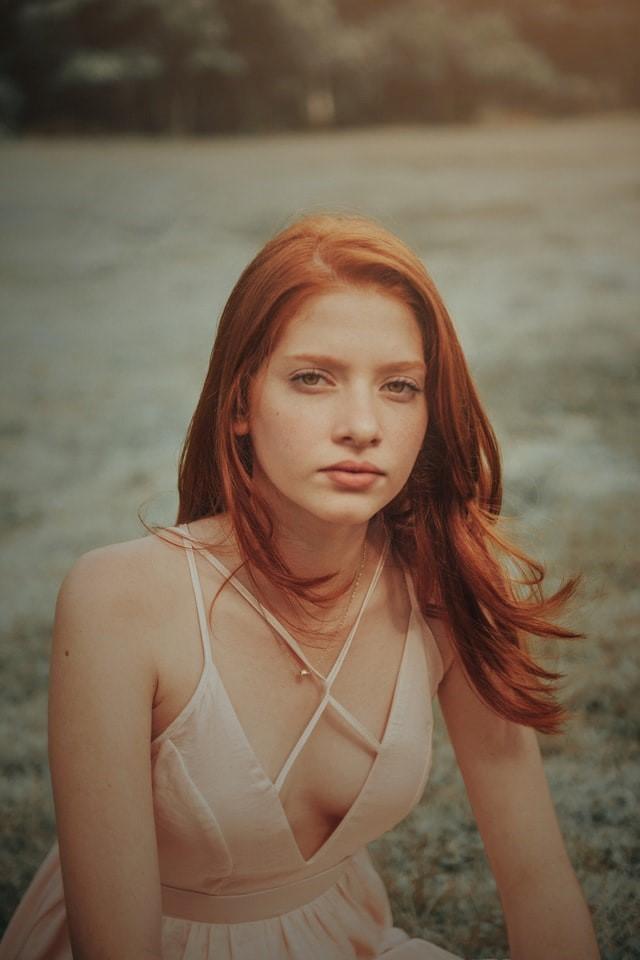
Photo by Gabriel Silvério on Unsplash
Photo by Clay Banks on Unsplash
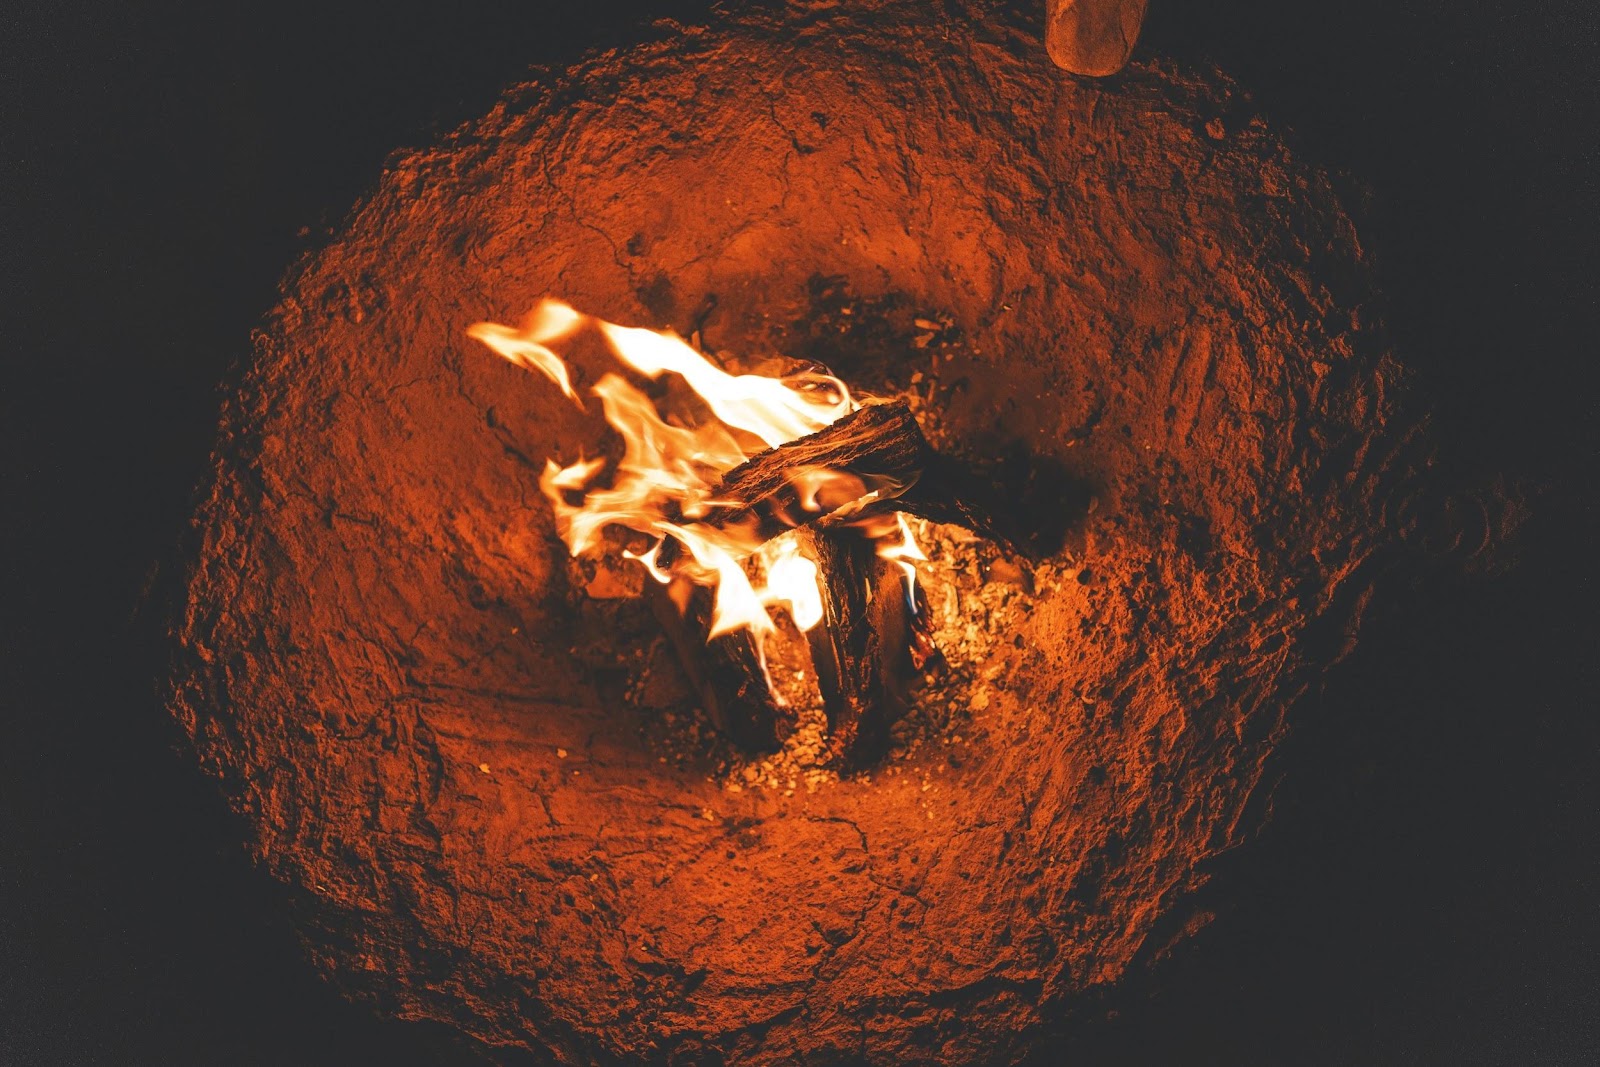
Photo by Marvin Meyer on Unsplash
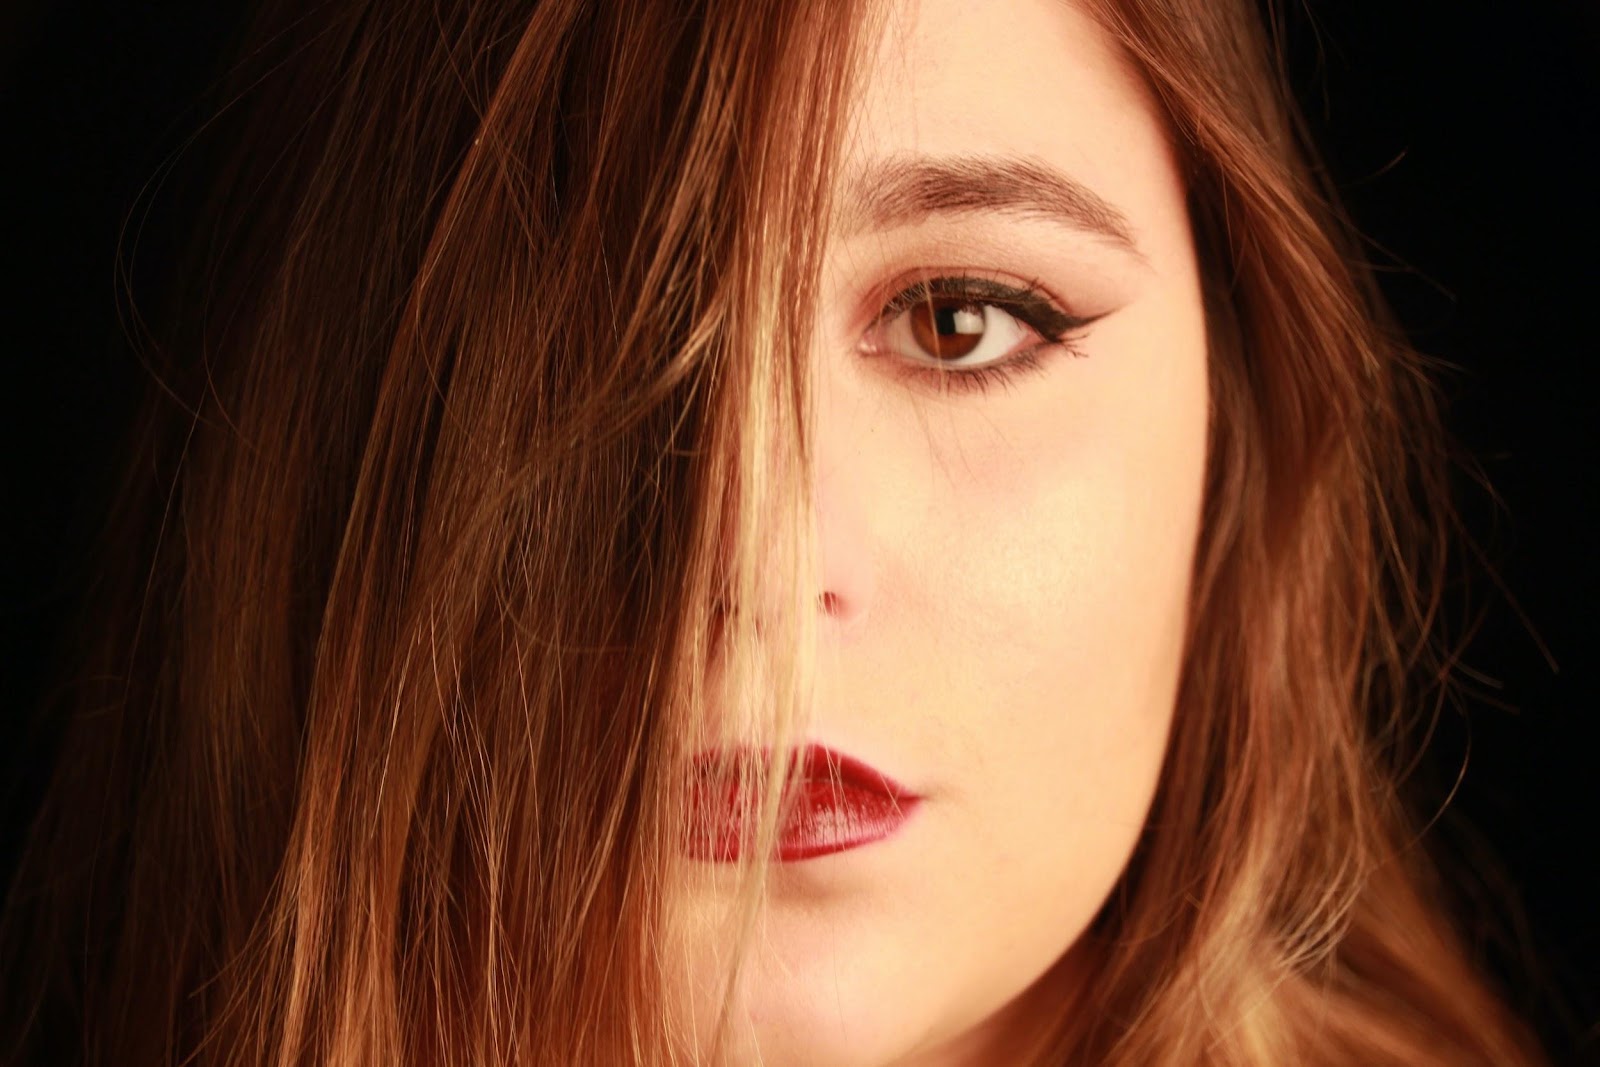
Photo by Danielle Peterson on Unsplash
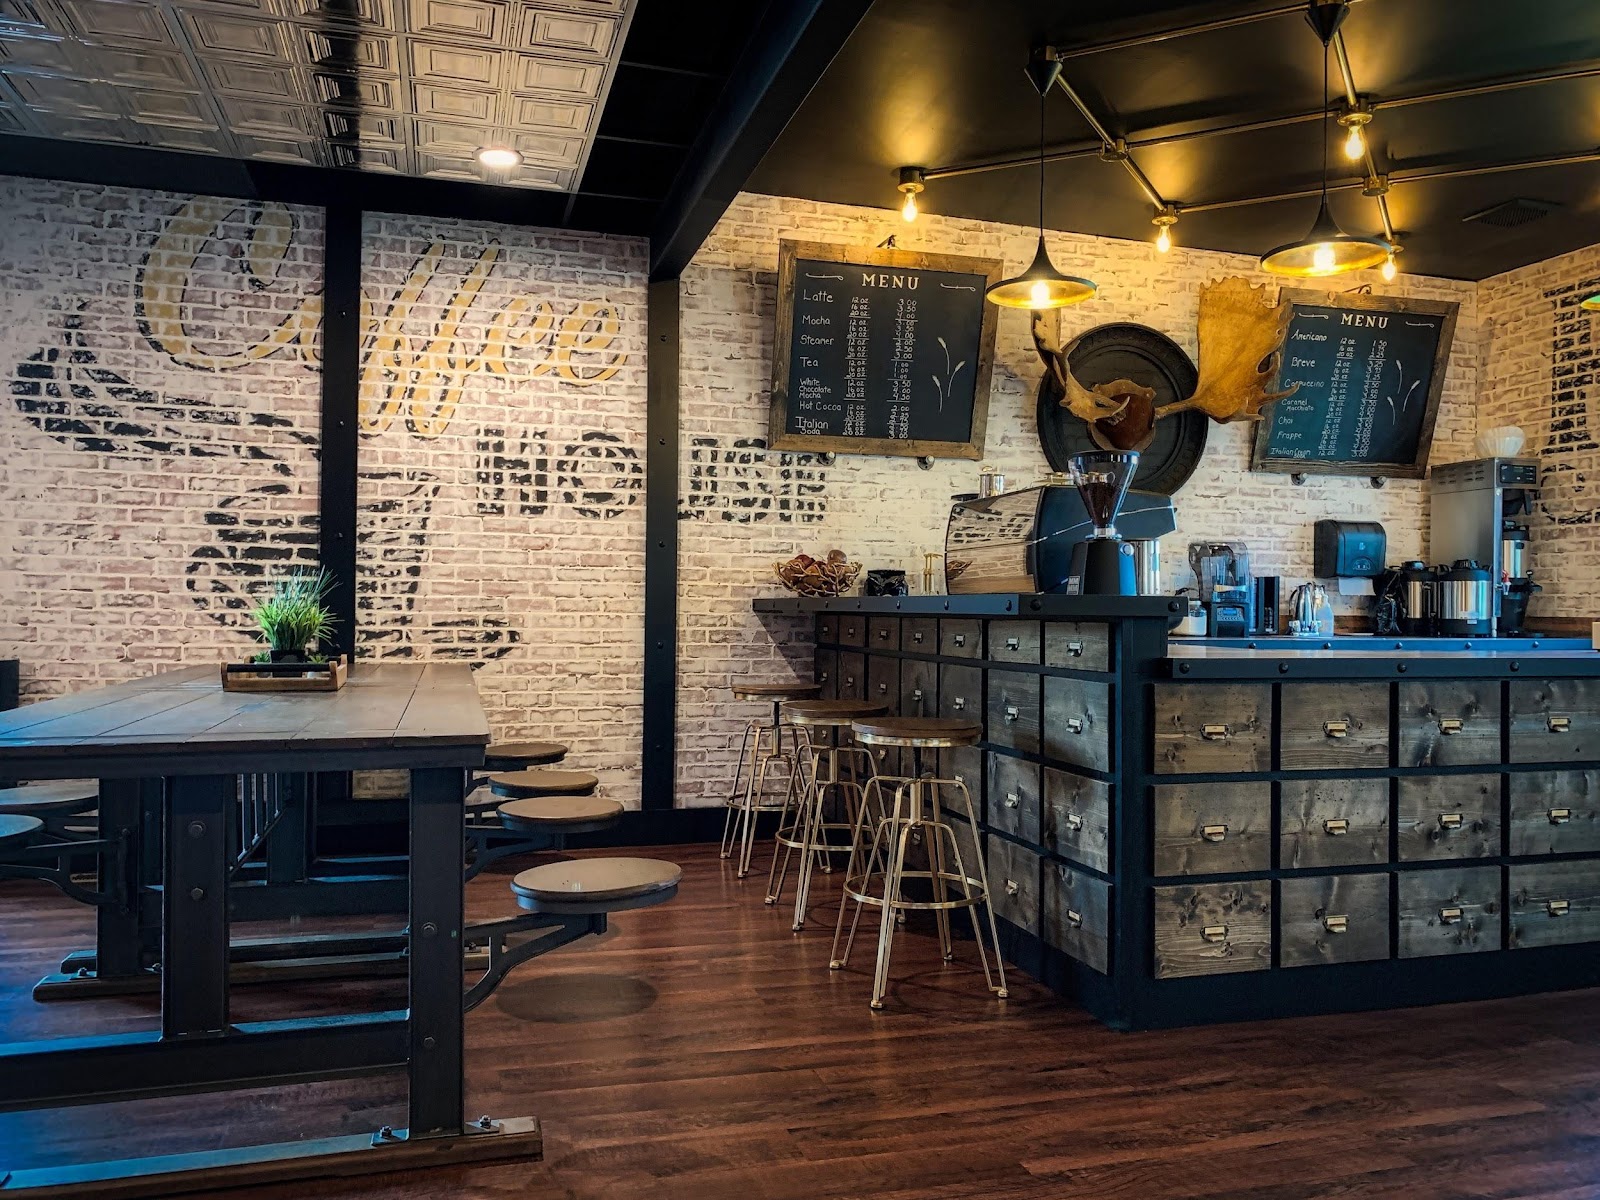
Photo by Doug Greenman on Unsplash
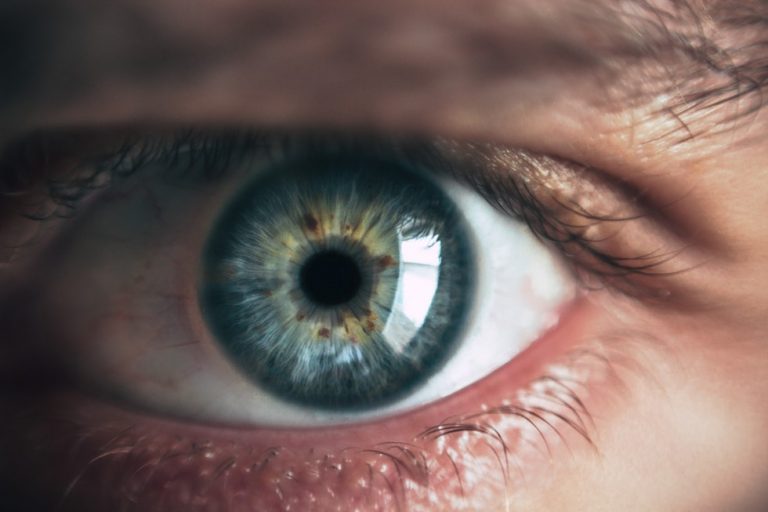
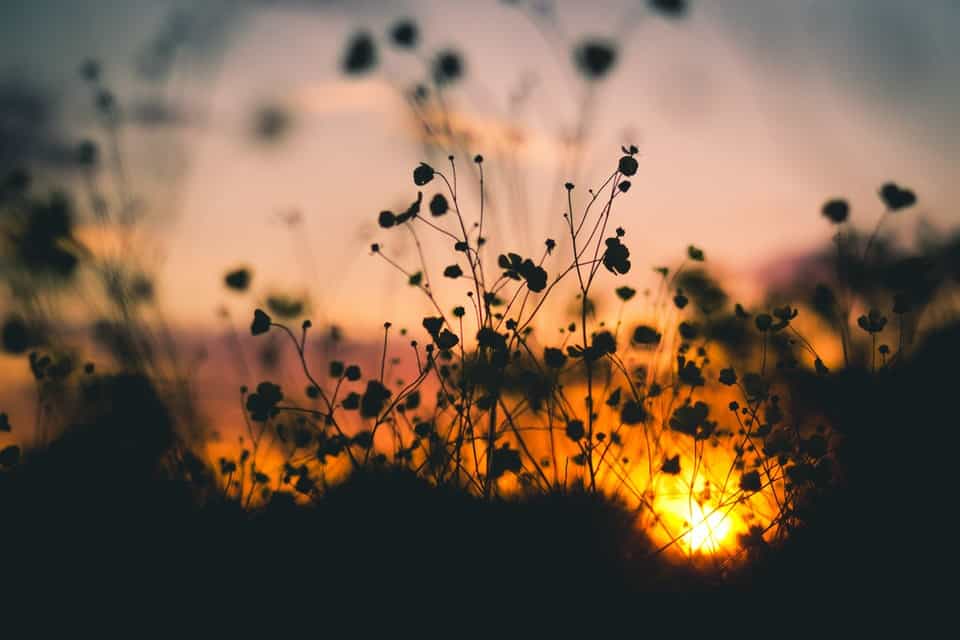
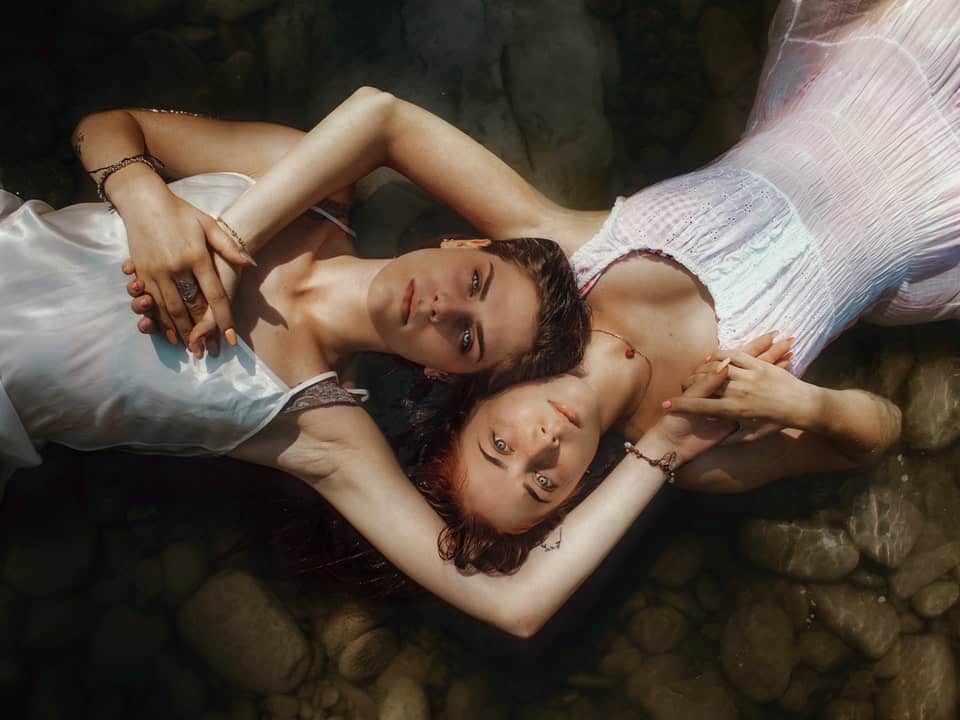
Here are some examples of photos that have undergone the dodging and burning process.
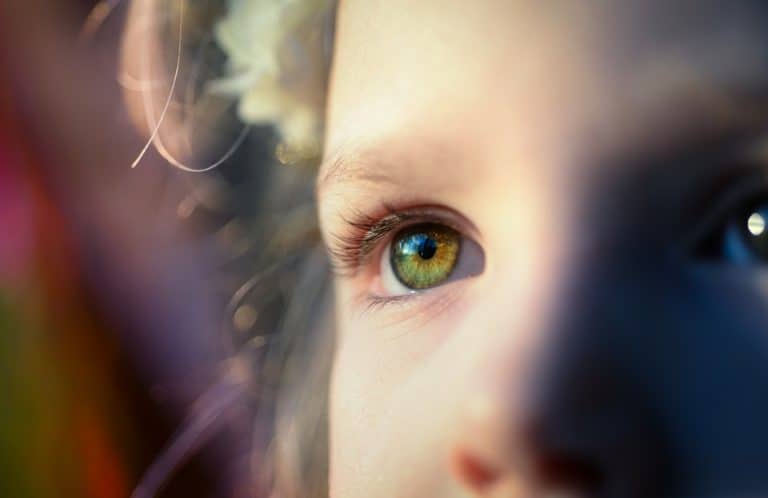
In each of the images above, you can see how the photographer used dodge and burn techniques to enhance it. For example, in the first photo, the subject’s hair and skin are highlighted while the background is much darker, creating a dramatic effect.
In the second image, it’s easy to see that the dodge and burn photographs technique has been used to highlight the areas where the sun is shining through the leaves. In the third image, the fire has extra exposure, while the surrounding space is underexposed.
In the fourth photo, the woman’s face and highlights are exposed, while the rest of her hair and the background are dark. This effect gives her a soft, glowing quality and makes for a beautiful portrait. In the final image, the brick wall and the Edison lights are highlighted, while the darker tones of the furniture and floor are left darker. This effect draws the eye to essential design elements in the room.
How to Avoid Halos
[cc_textad ad=612705]
One of the most common issues photographers face when using the dodge and burned photography method is a halo. This happens when the image is corrected outside of the desired area. If you accidentally use the tool outside of the area, it will create either a darker or lighter halo around the image, usually an undesired effect.
While a steady hand and careful selection are useful in preventing a halo, these methods will only get you so far. One of the best ways to prevent the halo effect is to restrict your tool to certain regions based on darkness or lightness. This restriction will give you a greater margin for error. If your software doesn’t allow you to select for luminance, you can select by shadows or something similar.
Different Types of Dodge and Burn Methods
There’s no one right way to dodge and burn. Your methods will depend on the type of software you use and your personal preferences. You may want to try out a few of the methods discussed below to find the one that works best for your skills and needs.

Photoshop
Photoshop offers a variety of methods for dodging and burning. Of course, there are the standard tools labeled dodge and burn, and in some cases, these will be your go-to option. However, several other methods will achieve the desired effect or even do a better job than the standard tools.
Create a Curve Adjustment Layer
One of the most important tips to remember when using Photoshop for dodging and burning in photography is to do the effect on a new layer. It’s never wise to work on a base layer. If you want to refine things a step further, you can create a curve adjustment layer. This tool allows you to create a layer based on areas of contrast and will give you even more control when dodging and burning.
Use the Dodge and Burn Tool
If you prefer to use Photoshop’s built-in dodge and burn tools, you’ll still want to create a new layer on top of your base layer. From there, you can use the tools at will until you get the desired effect. If you’re unhappy with your results, you can always mask out the problem areas and let the base layer come through.
Create a Luminosity Mask
By creating a luminosity mask, you can fine-tune how you’ll select areas to dodge and burn while eliminating the halo effect. To create the bright mask:
- Start with your image in Photoshop.
- Press Ctrl/Cmd and then RBG.
- Save, rename to Brights, and deselect.
To create a dark mask, do the same as above, but invert the selection. Save as Darks.
Lightroom
If you’re using Lightroom, it’s recommended that you make changes to the overall image first before moving onto specific areas. It’s easy to get carried away in Lightroom and make a mess before you even realize what you’re doing.
Global Adjustments
Start with global adjustments or adjustments that affect the whole image. It’s much easier to undo changes when using global adjustments. Play around with exposure and shadows until you get as close to your desired result as possible.
Local Adjustments
Once you’ve gone as far as you can with global adjustments, then move on to local adjustments. Your best bet here is to start as big as possible, editing on gradients before moving to the brush. Make adjustments with whites, blacks, highlights, and shadows, but try to avoid using the exposure tool.
Capture One
You’ll follow many of the same best practices with Capture One as you will for Lightroom, particularly starting with global adjustments before moving to local adjustments. You can also do much more with layers here, and refined color adjustments make it possible to get the same effect with far fewer steps and tools.
Other Software
For the most part, other software will have many of the same features and best practices as you will use in Lightroom and Capture One. Follow the advice to start global before moving to local, and you should be fine. You should always start with the largest possible adjustments, working your way down to smaller and finer adjustments.
Conclusion
Dodging and burning techniques give you much greater control over the final result of an image. These techniques can sometimes even salvage an image that might otherwise be useless. You can also use these techniques to create some incredible effects with light and dark. Dodge and burn does require some post-processing know-how, but by following these few simple steps, you can get the exact effect you want in your photography.