If you’re new to photography, one of the concepts and terms you’ll hear constantly is exposure. You might be reading a tutorial about getting scenes exposed correctly or you may get feedback on a photo you share saying it’s overexposed or underexposed.
Proper exposure is a fundamental concept of photography. Understanding what it is will improve your work and give you confidence in your skills. Today we will talk about what it means to be overexposed or underexposed, tones and how bright or dark they should be, and when you might want to break the rules!
Overexposed or Underexposed
First, let’s talk about exposure. That word has a few different uses in photography. It’s…
Looking to improve your photography? Just enter any questions you have about improving your photography below and hit send and get answers & feedback instantly - for FREE! Submit Questions- The process of taking a picture, as in “I make 3 exposures at a time.”
- Describes the components of photography, aperture, shutter speed, and ISO.
- It also describes the relative brightness of a photo. You might hear someone say “Your exposure is spot-on!” She means your picture looks to be just the right amount of brightness.
But if someone says you have a well-exposed photo, he’s talking about the relative brightness of it. Is your picture too dark? Too bright? This is the definition of exposure we will focus on in this article.
Understanding what it means when an image is underexposed, how to fix an overexposed image, and getting a picture correctly-exposed when shooting can make a huge difference in your photography and it’s what we want you to understand.
But first, let’s cover a few fundamentals.
Middle Ground, the Light Meter and Middle Gray
When humans look at a scene, we see a lot of different tones, from very dark to very bright. Our eyes are amazing and we take in this wide range of tones and sort of blend them together seamlessly in a way that makes sense.
Our camera can’t “see” as many tones as we can. Cameras lack the ability to see and interpret as large a dynamic range of darks, mid-tones, and highlights. Part of photography is knowing how to use your settings so that the most important part of your scene is exposed correctly. Or, put another way, your picture has just the right amount of brightness.
The Light Meter
One of the tools we have to see how bright or dark a scene is a light meter. Most modern DSLR and mirrorless bodies have a built-in light meter. It reads the amount of light hitting your subject and bouncing back into your lens.
The light meter then tells you the relative brightness of your scene using the meter at the bottom of your viewfinder. It gives you a readout, usually on a scale of -3 to 3, with 0 being the middle of the scale. We’ll cover more on that in a minute.
What is Middle Gray and Why is it Important?
Cameras are programmed around middle gray, or 18 percent gray. Middle gray is the halfway point between pure black and pure white. (Why is it not 50 percent gray? Well 18 percent gray is a holdover from the days of film and tangible prints and is based on reflection, not just a mix of colors. But that’s probably more math than any of us want right now.)
So now imagine your light meter scale overlapped with a black to white scale. The blackest blacks would be the left side of your lightmeter (-3), the whitest whites would be the right side of your light meter (+3). And in the middle? Zero, also known as a middle exposure also known as middle gray!
Middle gray is important because that is what our on-camera light meters are trying to achieve. And it’s what our light meter knows to be a correct exposure. So if we put a 18 percent gray card in our scene and adjust our settings so that we get a zero on our light meter, all the tones in our scene should be properly exposed.
But 18 percent gray isn’t the only “middle” tone. The blue sky, green grass, primary red, dark orange, and medium skin tones are also middle tones. So on a sunny day, if you point your camera at grass in full sun and your light meter gives you a reading of zero, it’s properly exposed.
Understanding the Terms
Unfortunately the world isn’t designed in just middle tones. We have a whole range of tones in our scenes and it’s our job as photographers to interpret those tones and adjust our settings so our camera records those tones to our liking. To do that, we need to understand some terms.
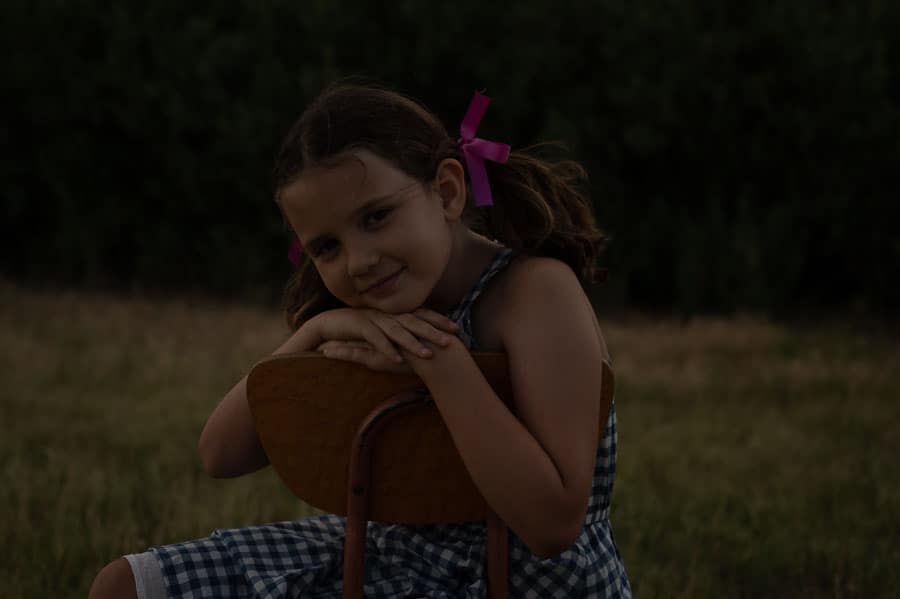
What is underexposure?
Underexposure simply means your picture, or parts of it, are too dark. Instead of having a range of dark shades, you may have solid black. Or certain tones aren’t distinguishable from one another. This is an example of underexposure. It just feels too dark.
A photo, or the parts of it that are too dark are often said to have “lost your shadows.” You might also hear that you’ve “clipped your shadows.”
There are degrees of underexposure. Photographers describe how underexposed a picture is using the term “stop.” A stop (check out this article for a deep-dive on the concept) is how photographers measure how much light is in a scene.
We can’t quantify light like we could a volume of water, for instance. We can’t say “we have 10 cups of light in this image.” So we use the term stop, and it means a doubling or halving of the amount of light in a scene.
1-stop under-exposed
If an image is 1-stop below zero exposure, that means your photo has half as much light as it would need to have an 18 percent gray card read as a zero on your light meter. It reads as -1 on your light meter. Some tones naturally appear as 1-stop under-exposed. Royal blue, dark green grass or foliage, red, brown and rose all naturally occur as tones that read -1 in a properly exposed scene.
2-stops under-exposed
If an image is 2 stops under-exposed, it has four times less the amount of light it would need to be properly exposed. Put another way, an 18 percent gray card would read at -2 on your light meter. Dark gray, maroon, navy blue, forest green, burgundy, and dark brown naturally occur as tones that read 2-stops underexposed in a correctly exposed picture.

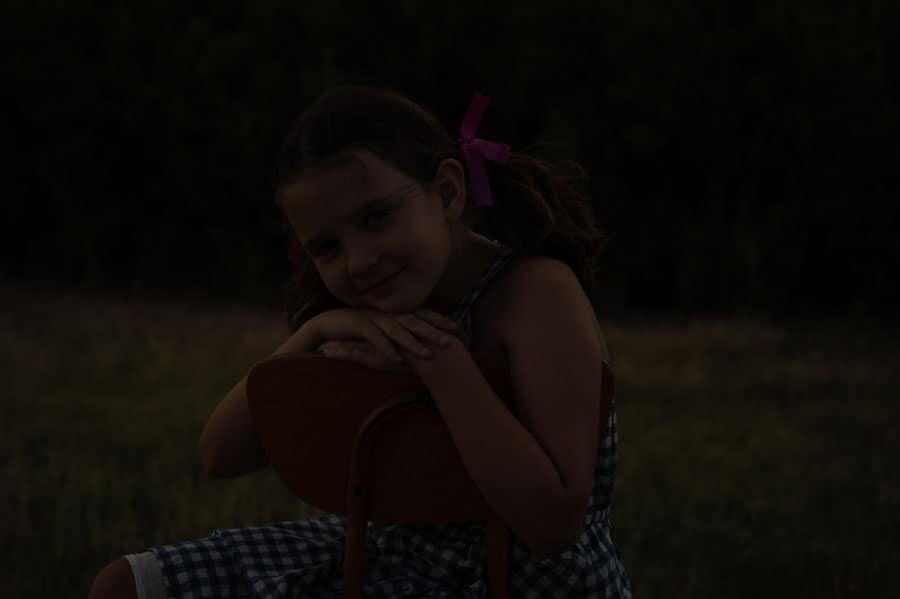
3-stops under-exposed
If an image is 3 stops under-exposed it has 8 times less the amount of light it would need to be properly exposed. Dark colors have lost most tonality and will print as black.
4-stops under-exposed
At 4-stops under-exposed, parts of your image are a step just above pure black with no tonality or texture.
What is Overexposure?
As you can guess, overexposure is a photo that feels too bright, or parts of a photo that are too bright. Skin, skies, whites and other lighter tones may be so bright that they lose all texture and tonality. As with underexposure, there are different levels of being overexposed, also measured in stops.
Photographers also refer parts of an overexposed photo as “blown out” or “blowing your highlights.”
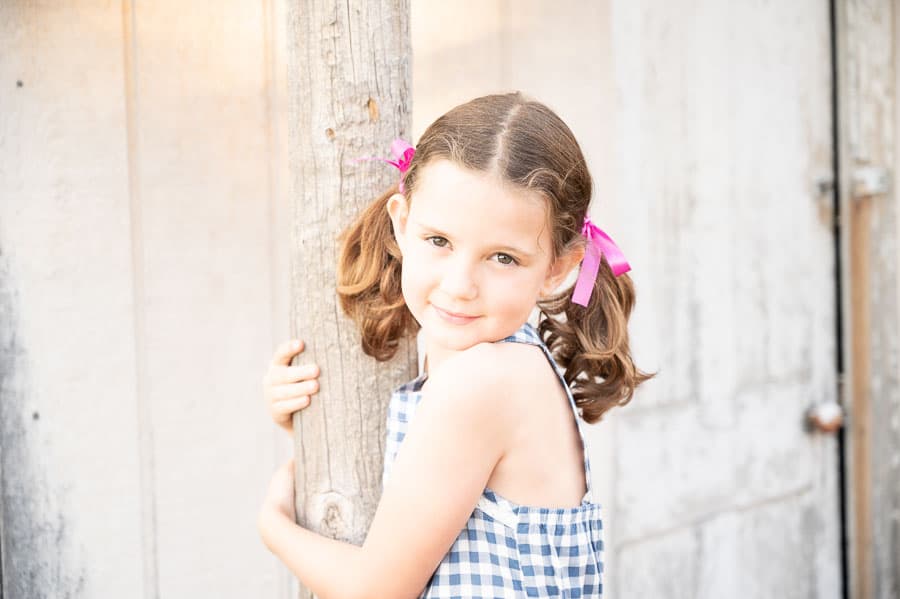
1-stop over-exposed
If a photo is 1-stop over-exposed, a middle gray tone is twice as bright as it should be. Tones that are naturally 1-stop over-exposed are deeper shades of pastel yellow, blue, pink, and green. The average Causaian skin tone, fog and a light blue sky will also measure at +1 stops if the scene is properly exposed.
2-stops over-exposed
At 2-stops overexposed photo, a middle gray tone is four times as bright as it should be, but pale pastel colors are naturally +2-stops above middle zero. Whites should still have detail (think white fur, clouds, sand and snow), but skin Causian skin is too bright.
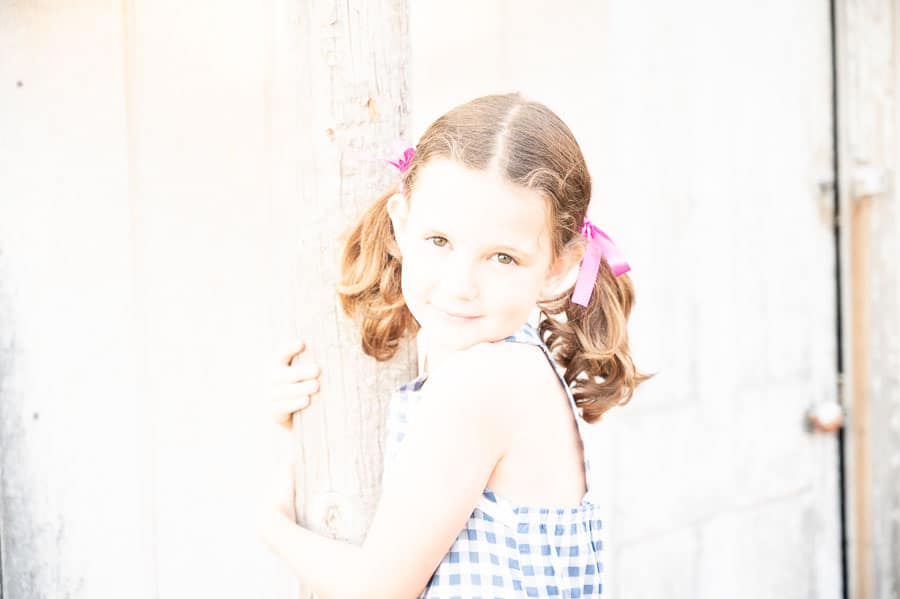
3 stops over-exposed
At +3 stops, whites have no texture. Other pale colors have also lost texture and tonality.
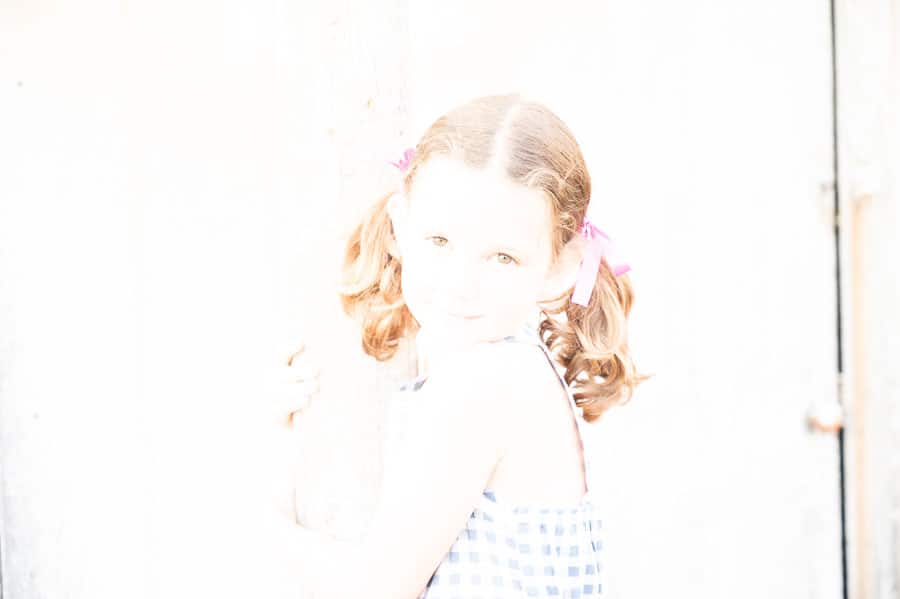
4-stops over-exposed
When your picture is at +4 stops, everything is approaching pure white. Even dark tones are washed out and don’t represent right.
What is Correct Exposure?
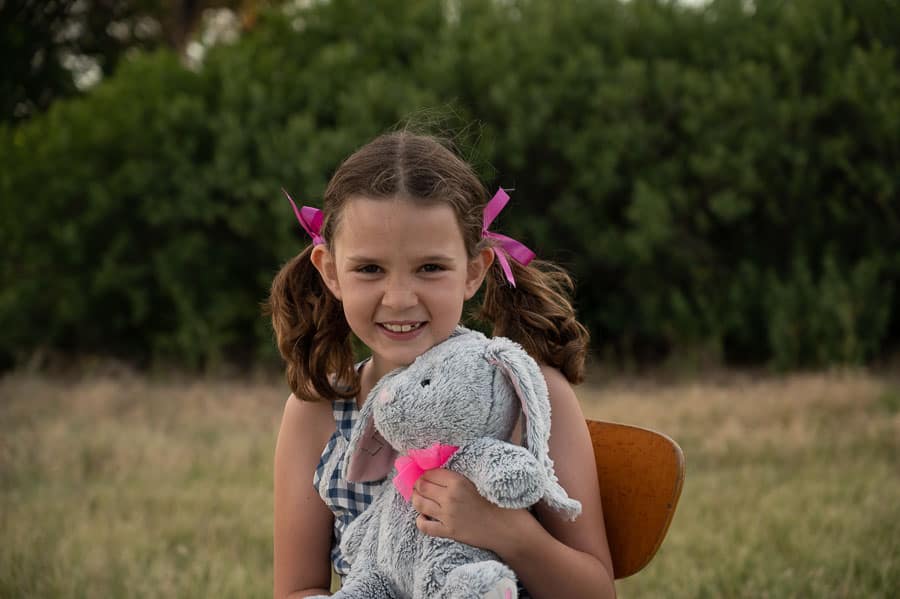
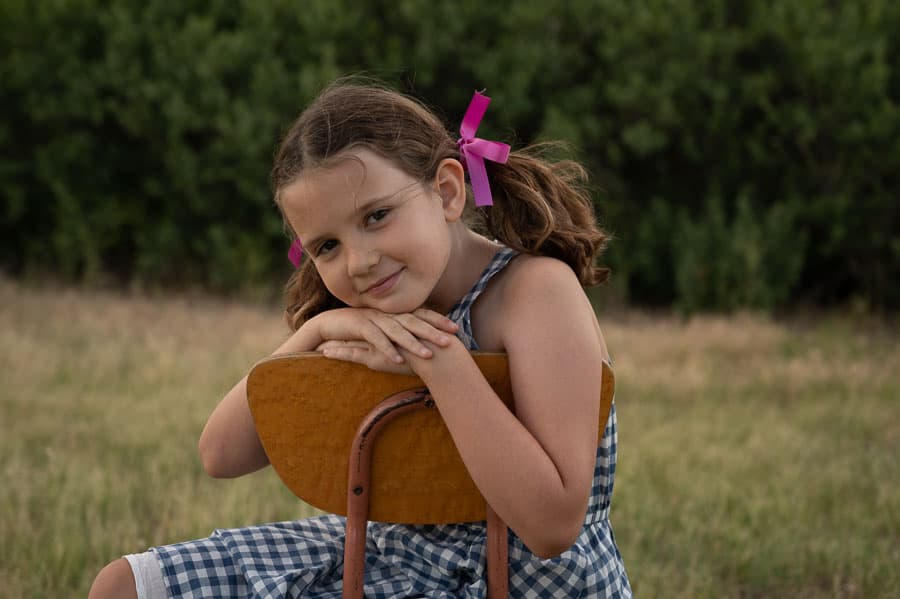
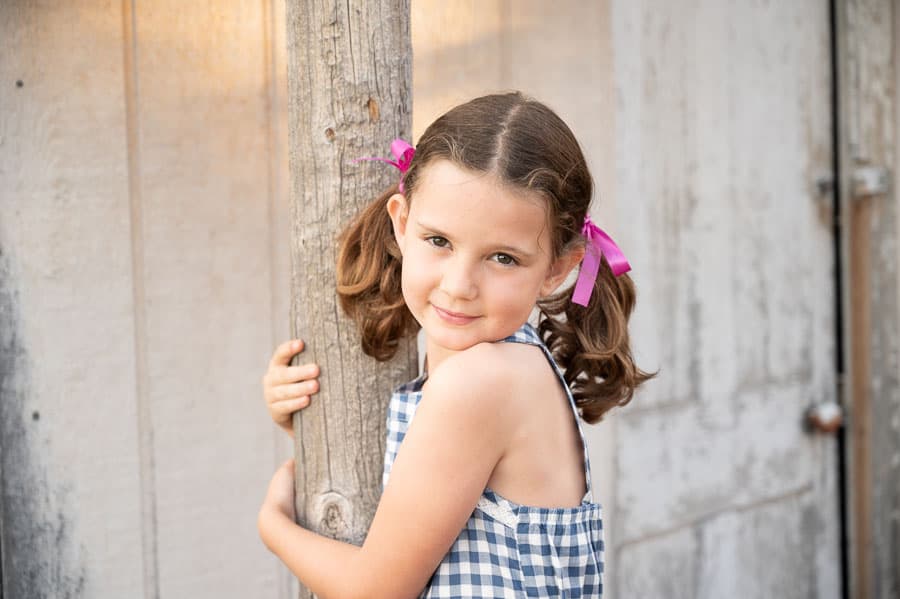
A correctly exposed picture, in strict photography terms, is one with tones falling where they should on the scale we just discussed. It’s not too bright, nor too dark. Highlights still have tonality, shadows have texture and it just looks “correct.”
If we were to place a gray card in your scene where the light is falling, your light meter would have a zero reading.
But I have to add a caveat here…sometimes what looks good to you might not technically be a “correctly” exposed photo. Photography is art and art is highly subjective. But you have to understand the rules first before you can break them. And knowing how a tone should look helps you learn when to adjust settings like shutter speed or ISO to make it brighter or darker.
How Do You Know and Image is Overexposed or Underexposed
You know a photo is overexposed because it just feels too bright. If you examine the very bright areas, there is no texture. Highlights on skin, for example, may just appear as white and you can’t see any pores. A sky looks white instead of having shades of blue and clouds, and blacks look washed out and gray.
An under-exposed photo looks too dark. There’s no tonality in the shadows. They all just look black. Whites, on the other hand, look muddy and gray. A photo of a bride’s dress looks dingy and off color.
Its relatively easy to see when a scene is waaay to bright (+4 stops) or waaaay too dark (-3 stops). What’s harder is nailing it exactly right…finding that sweet spot where your subject looks good, your highlights aren’t too bright, and your shadows aren’t too dark. With practice, you’ll begin to recognize when a scene has not been exposed correctly.
What Range of Tones Can Our Cameras Record?
Modern DSLRs and mirrorless bodies have the ability to record images with more than 4,000 tones between black and white. But your camera’s sensor records those tones unequally. Brighter tones take up most of the information the sensor records, leaving little room for the sensor to record shadows.
So while our eyes can record even subtle details in shadows and dark areas, a camera cannot. Think about how you can see furniture, other people, or objects in a very dark room. A DSLR couldn’t make those distinctions. In that way, our eyes are backward to how a DSLR sees light.
How Do You Choose Your Exposure?
Our goal is to get a photo that is pleasing to our eye. Pleasing meaning a level of brightness in the photo such that colors look true to life and the gamut of tones is represented correctly. Remember, that can differ from a “correct” exposure.
- Use a gray card or any reference tone and make sure that tone falls where it should. For example, if you meter off of a normal blue sky, your meter should be zero. If it reads +2, your image is overexposed. If it reads -1, your image is likely too dark.
- Review the histogram on the back of your camera, which is a graphical representation of the tones in yoru image (more on that in this article!).
- Use a tool such as an Expodisc.
- Eyeball it using your the LCD panel or electronic viewfinder.
- In post production, you can examine the picture and see if you still have tone and texture in your highlights and shadows.
My preferred method is to meter off of a known tone in an image and adjust my settings so that tone falls where it should. However, artistic expression is important. And my good exposure might be too dark for your liking.
Sometimes, you can’t have everything in your scene exposed correctly. In those instances, you must make sacrifices and choose which area to expose correctly. Usually it’s the subject that should be correctly exposed.
Use Underexposure and Overexposure for Mood
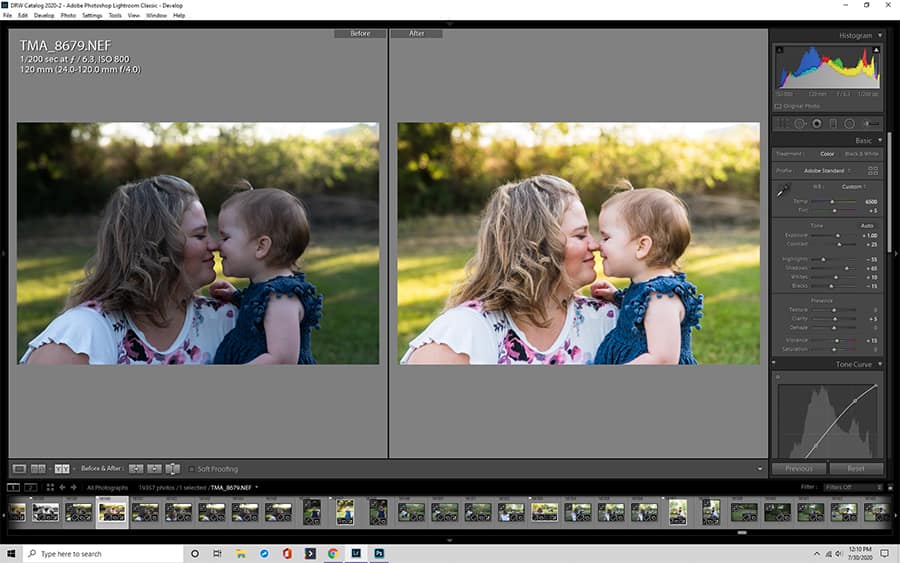
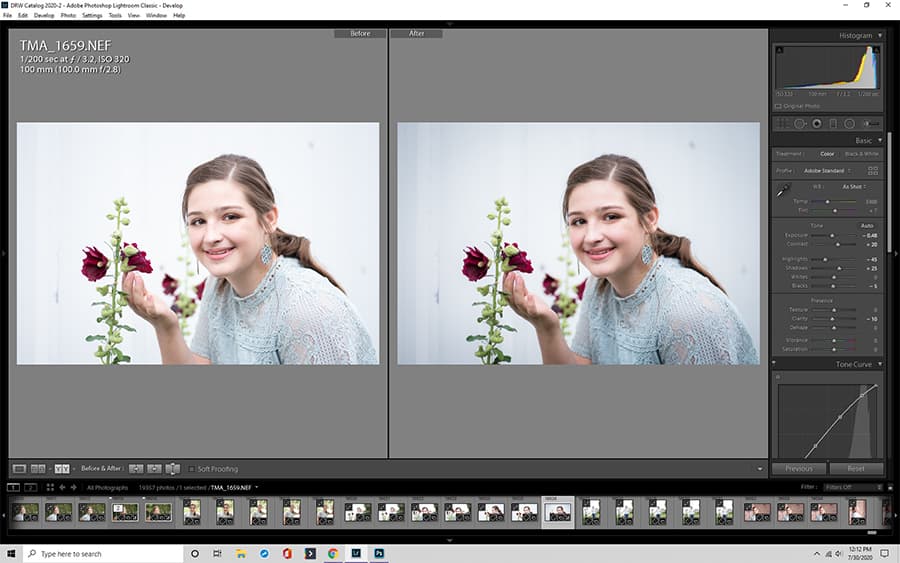
You may choose to use underexposure or overexposure deliberately to create a certain mood or feeling in your work. Bright and airy photographers often bump up exposure slightly to get that happy go lucky feel.

Dark and moody photographers may shoot dark on purpose to add to the mystery and mood of their work. You can also deliberately underexpose a subject to create a stunning silhouette instead of a ho-hum good exposure.
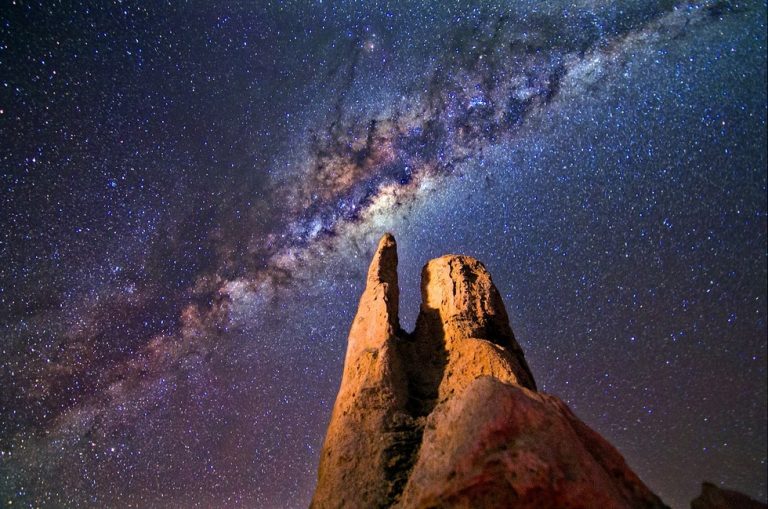
Sometimes I’ll deliberately let my background go dark to place more emphasis on my subject. Or I’ll use a slow shutter speed to over expose my scene (compared to what we see with our eyes) so we can see things like the Milkyway or a comet’s tail.
That’s artistic license and it’s yours (and mine!) to exercise freely. The important thing is to understand these concepts so if you are trying to create a certain mood, you know how to adjust your settings accordingly.
Boost It In Post Processing
One of the coolest things about modern digital photography is our ability to make adjustments after we’ve clicked the shutter in post processing. With post processing editing software, it’s possible to fix errors in shooting or enhance our images in ways we couldn’t with film.
Shooting in RAW gives you the most flexibility for editing. JPGs don’t possess as much information as RAW files, so large editing changes don’t work as well.
If you have dark areas in your image, you can use Lightroom or Photoshop to bring up your shadows.
You can also recover some of your highlights and tone down bright areas in your image.
Be careful relying on software to get things correct, however. It does have some drawbacks.
- First, it takes time. Why spend time tweaking images at your computer if you can get it right while shooting?
- Second, raising your exposure in post-production can introduce noise, or grain, to your pictures.
- Extreme editing in either direction often leaves you with an unrealistic image.
- Finally, your software can’t always recover those highlights. When a DSLR sensor records a really bright tone, there might not be any data in those areas at all. If there’s no data, you can’t “recover” those highlights…they are just gone. That’s why most digital photographers agree that it’s better to underexpose an image than to overexpose it. The software does a good job of boosting shadows but can’t always bring back those highlights.
Conclusion
The correct exposure isn’t easy. And it isn’t always the right mood for you. By learning about tones and the tonal range of your camera, you can begin to choose settings that will bring the artistic vision in your mind to life in an image.
Work at getting aperture, shutter speed and ISO right in the moment. Know how to avoid accidentally overexposing or underexposing your images and how to do it intentionally. But also have fun playing with post production software to and know how to fix a mistake if it happens.
The more you know the more tools you have to create images exactly to your liking!