Adding text over an image is a convenient Photoshop feature. It’s an original way to make sure you’re creating a banner for your website or adding a message to your latest ad campaign in Photoshop. Displacement maps and filters are useful tools for incorporating texts, logos, and other elements into your images.
Looking to improve your photography? Just enter any questions you have about improving your photography below and hit send and get answers & feedback instantly - for FREE! Submit QuestionsHere is what you need to know about using a displacement map in Photoshop.
Image by Lalmch (available under Pixabay License)
What Is a Displacement Map?
If you’re new to using Photoshop, you might wonder what displacement filer is. It’s a distortion effect or filter you can apply to an element in Photoshop to help it blend into the background. Instead of having a text superimposed on your background, it will look like your text or logo was written directly on the surface you’re using as your background.
A displacement map is a grayscale image that allows you to add textures and shadows to the element you want to distort. The displacement filter is the tool that distorts or wraps your text or logo by applying the grayscale map to it.
Why You Should Consider Using Displacement Maps?
If you add text or another element over an image in Photoshop, it will look like a 2D element over your image. It won’t blend with the image, and the contrast between your background and text might not create the effect you’re looking for. The result might not look professional.
The purpose of a displacement map is to transpose the texture and shadows of your background over your text. The text will take on a 3D effect and will become an integral part of your image.
Wrapping and distorting your text will help it blend with the background. Shadows and textures will look consistent between your background and the elements you add over it.
Displacement maps in Photoshop are a fun effect to master! There is a lot of flexibility when it comes to wrapping texts and logos, and you can use displacement maps to work with a lot of different textures and shadow effects.
It’s also a tool you can use to add realistic texture to a text without worrying about the texture matching the background you use.
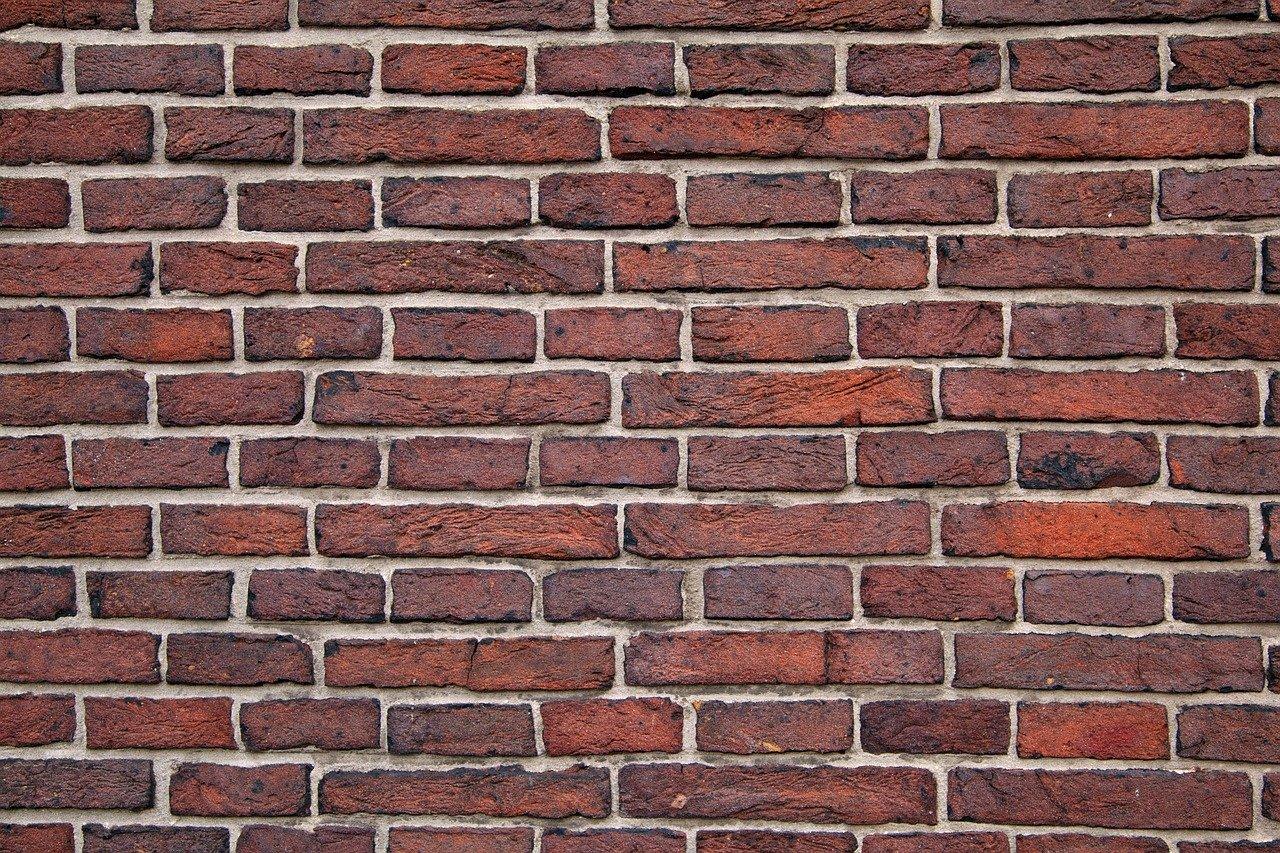
Image by PublicDomainPictures (available under Pixabay License)
How to Use the Displacement Map in Photoshop
Here’s a step-by-step tutorial you can follow to get started with displacement maps in Photoshop.
Step 1: Open the Background Image
Step 1 is to click on File and open the image you want to use as your background. You can edit that image before adding text.
Working with displacement maps is more interesting if your background image has a unique texture. You can add texture to your background by using a second image with a unique texture and choosing the screen option in the layers panel to blend that image with your background.
Image by StockSnap (available under Pixabay License)
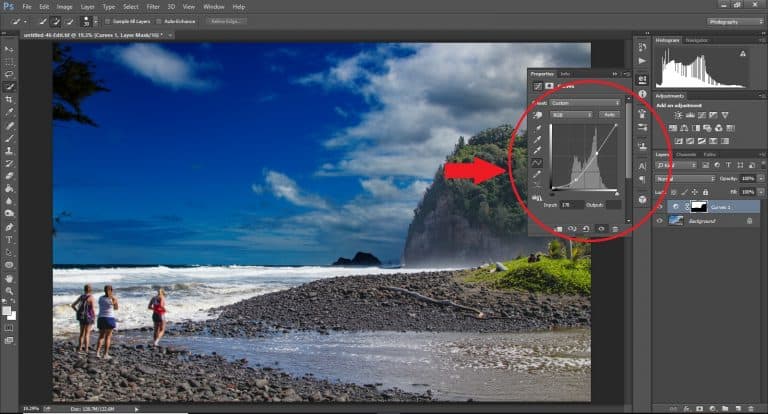
Step 2: Create a Grayscale Map
Access the RGB channels panel in the layers panel and pick one to create a grayscale version or black and white of your image. The green channel typically has the best contrast.
Step 2 is to select an RGB channel, click on adjustments, and look for the black & white option. A box will open, and you can choose from different black and white presets to create a grayscale image, use the auto option, or adjust the sliders.
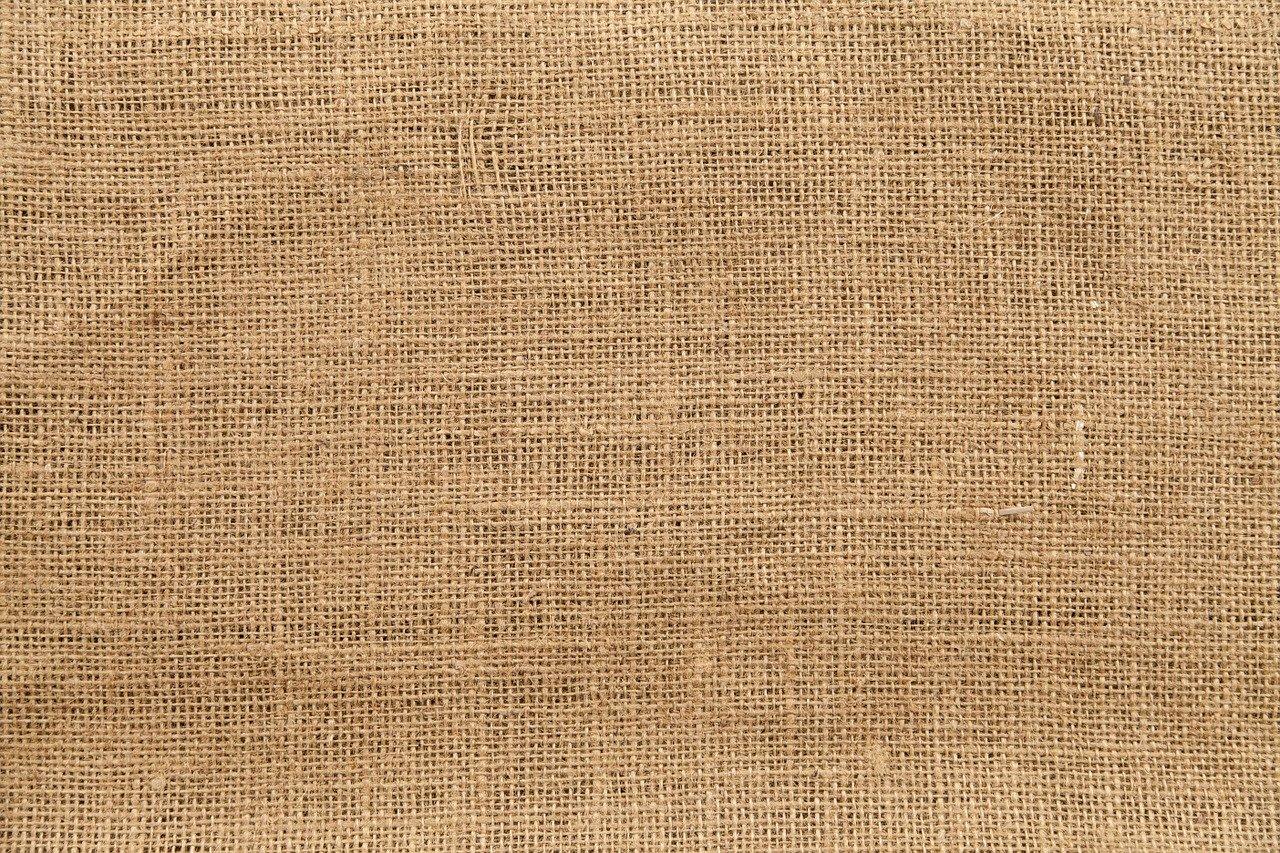
Image by lovepixs (available under Pixabay License)
Step 3: Save Your Grayscale Displacement Map
Once you have created a grayscale version of your background, click on file and save as. Step 3 is to save the grayscale image as a PSD document so you can use it as a displacement map later on.
Step 4: Gaussian Blur
Displacement effects look best if your background isn’t too sharp. Adding a Gaussian blur effect helps your text or logo blend in with your background and softens the texture of your background.
Step 4 is to select your background in the layers panel, and press Ctrl+J to duplicate it. Select the duplicate layer, click on filter, and look for Gaussian blur.
Use the sliders to adjust the blur effect. Click on the mask icon for this layer, select the brush tool, and use a soft brush with low opacity to paint over your blurred layer.
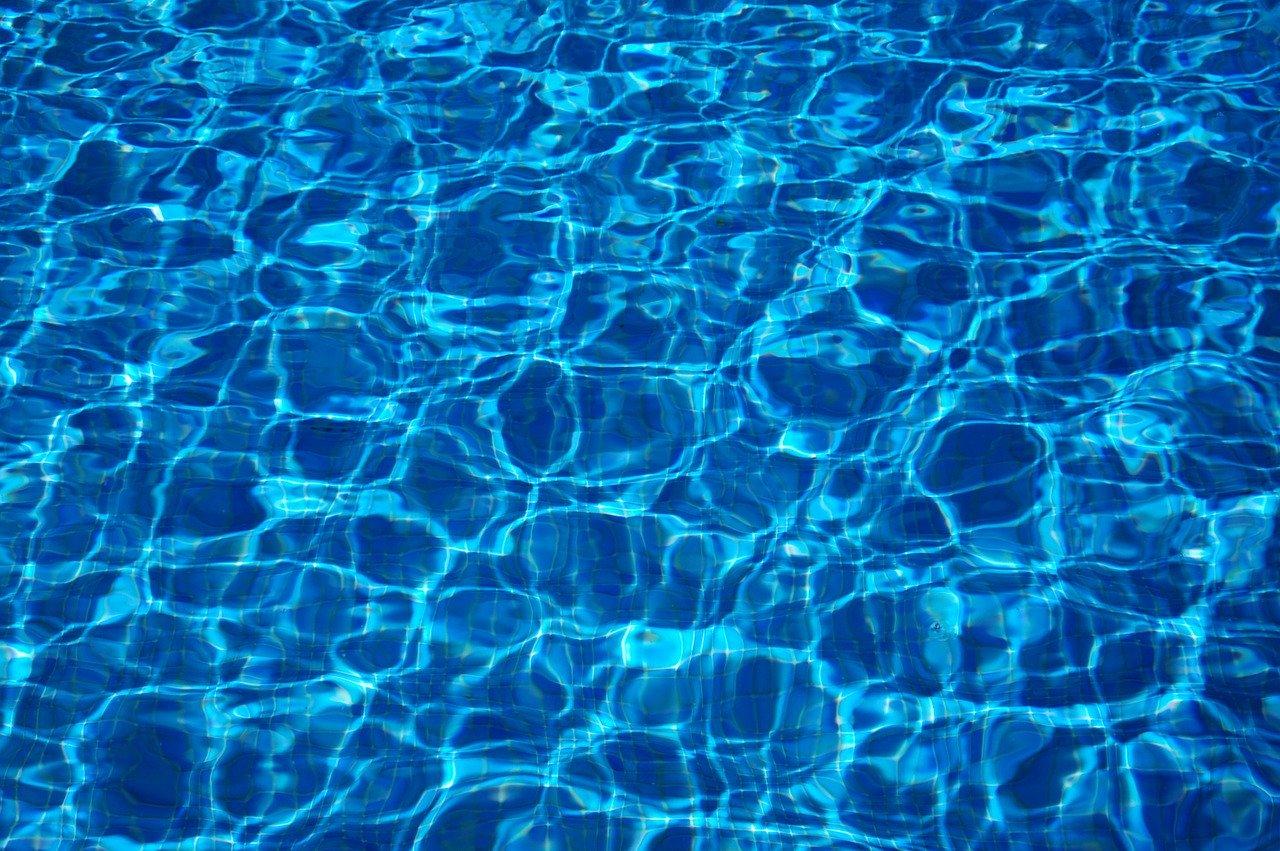
Image by Aquilatin (available under Pixabay License)
Step 5: Add Your Text
Select the type tool to add text over your background. This tool will create a new document layer with your text. You can adjust the font, size, and other features of your text.
Note that you can use displacement maps with other elements. You can create a new document layer and use a transparent image of a logo or other element you want to add to your image.
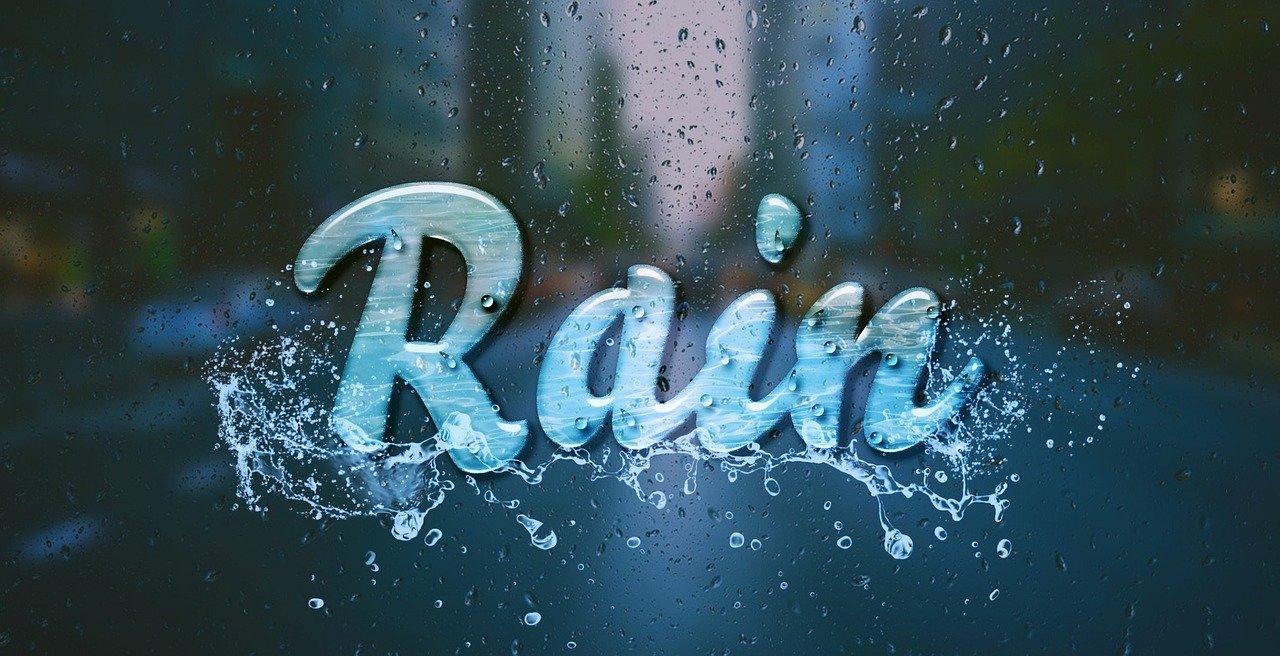
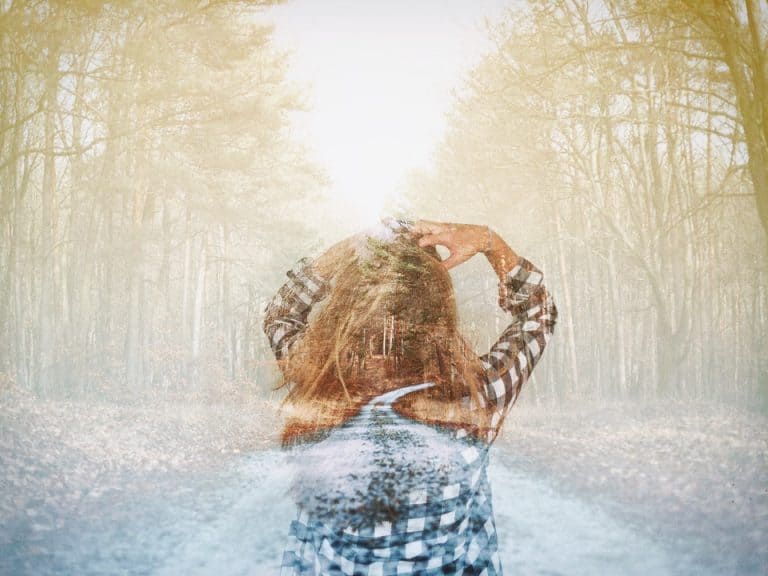
Image by sbgonti (available under Pixabay License)
Step 6: Apply Your Displacement Map
Select the layer with your text or logo. Click on filter and select distort displace.
Once you click on the filter distort displace, you can adjust the horizontal and vertical scale values in the dialog box that opens. Click OK, and another dialog box will open. You can now select your displacement map. Look for the grayscale PSD file you saved earlier.
Once you apply the displacement map, your text or logo will wrap and match and texture of your grayscale map!
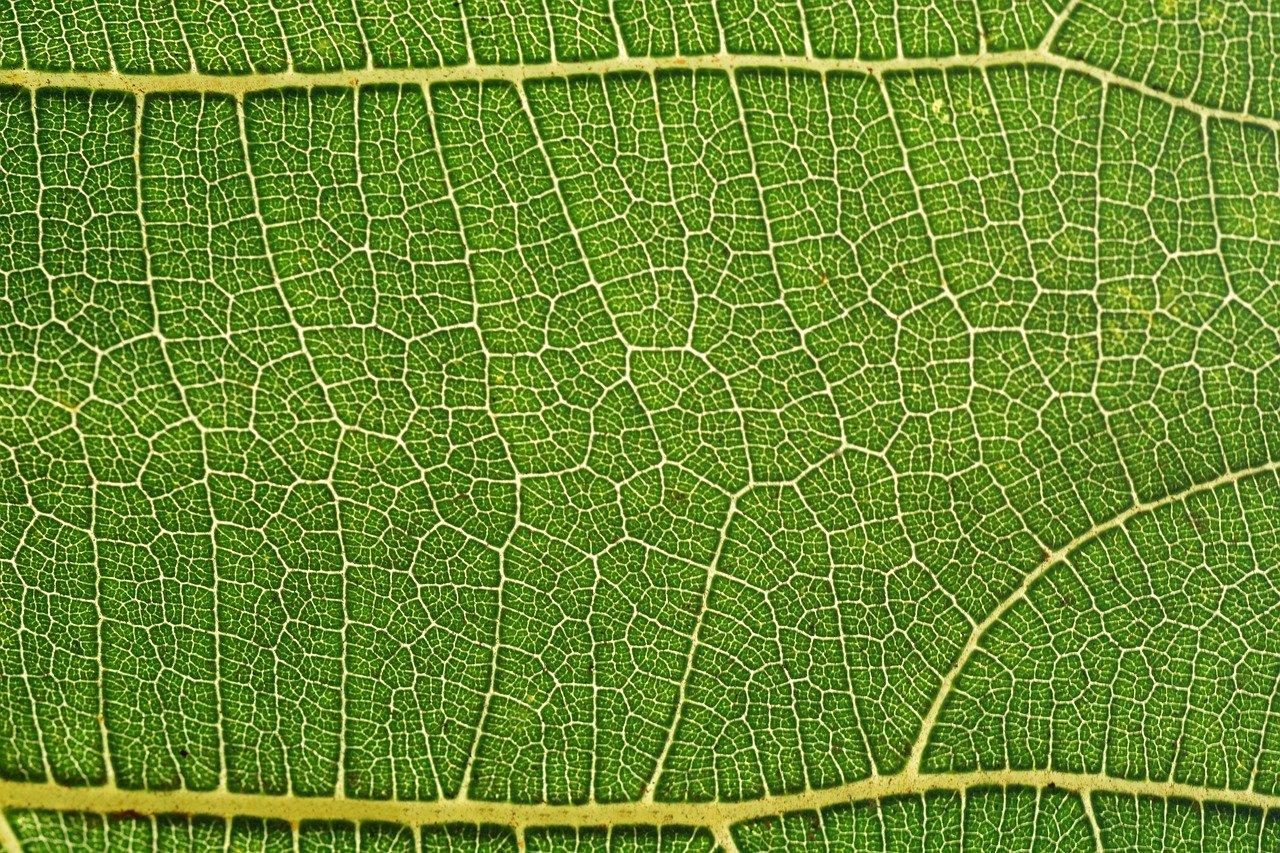
Image by ulleo (available under Pixabay License)
Step 7: Edit Your Image
You can do more edits to your image to create a more realistic effect. Duplicate the layer with your wrapped text or logo so you can edit it.
You can play with opacity to blend your text into your background, add a tint to your text, or use a Gaussian blur effect if details seem too sharp. A shadow layer is another interesting effect to explore.
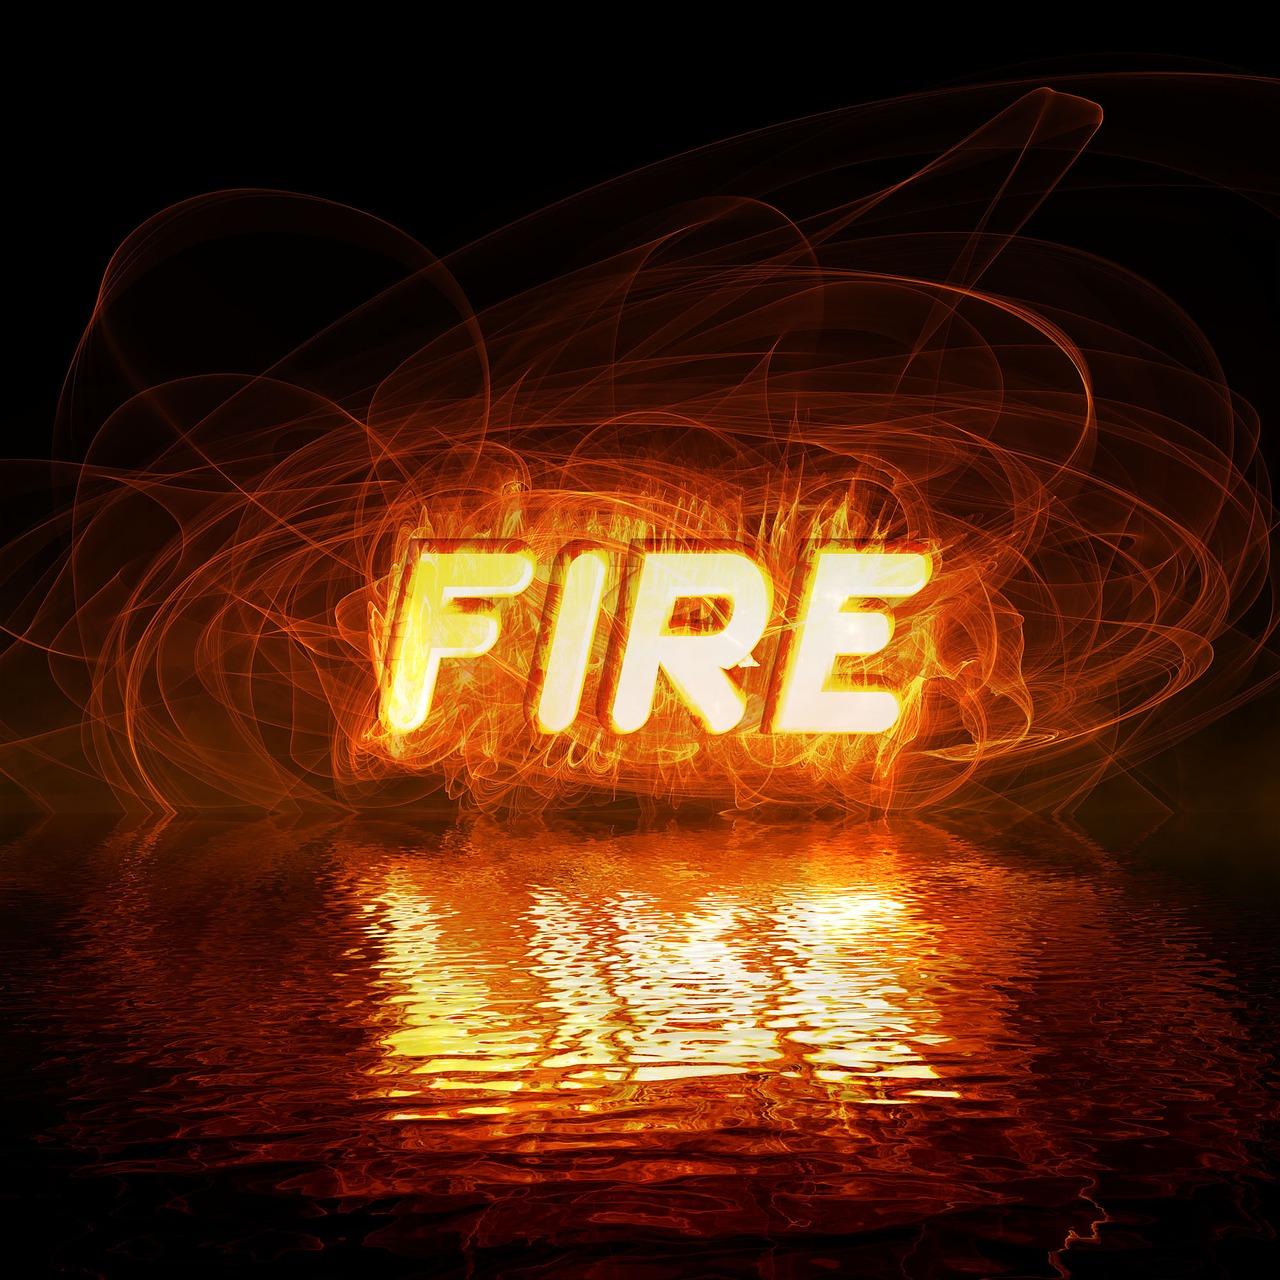
Image by CristianFerronato (available under Pixabay License)
Practice with a Road or Street
A fun project you can do with displacement maps is to add text on the asphalt of a road or create a road marking effect on a photograph of a road.
Open an image of a road or street in Photoshop. Create a grayscale version of your image, and save it as a PSD doc.
Create a layer with your text, or draw some road markings in a vector image. If you decide to draw road markings, add a Gaussian blur effect to your vector image.
Select the layer with your text or vector image, and apply your grayscale PSD file as a displacement map. Don’t hesitate to increase the values of the horizontal and vertical scales to make it look like the road markings or text are painted on the road.
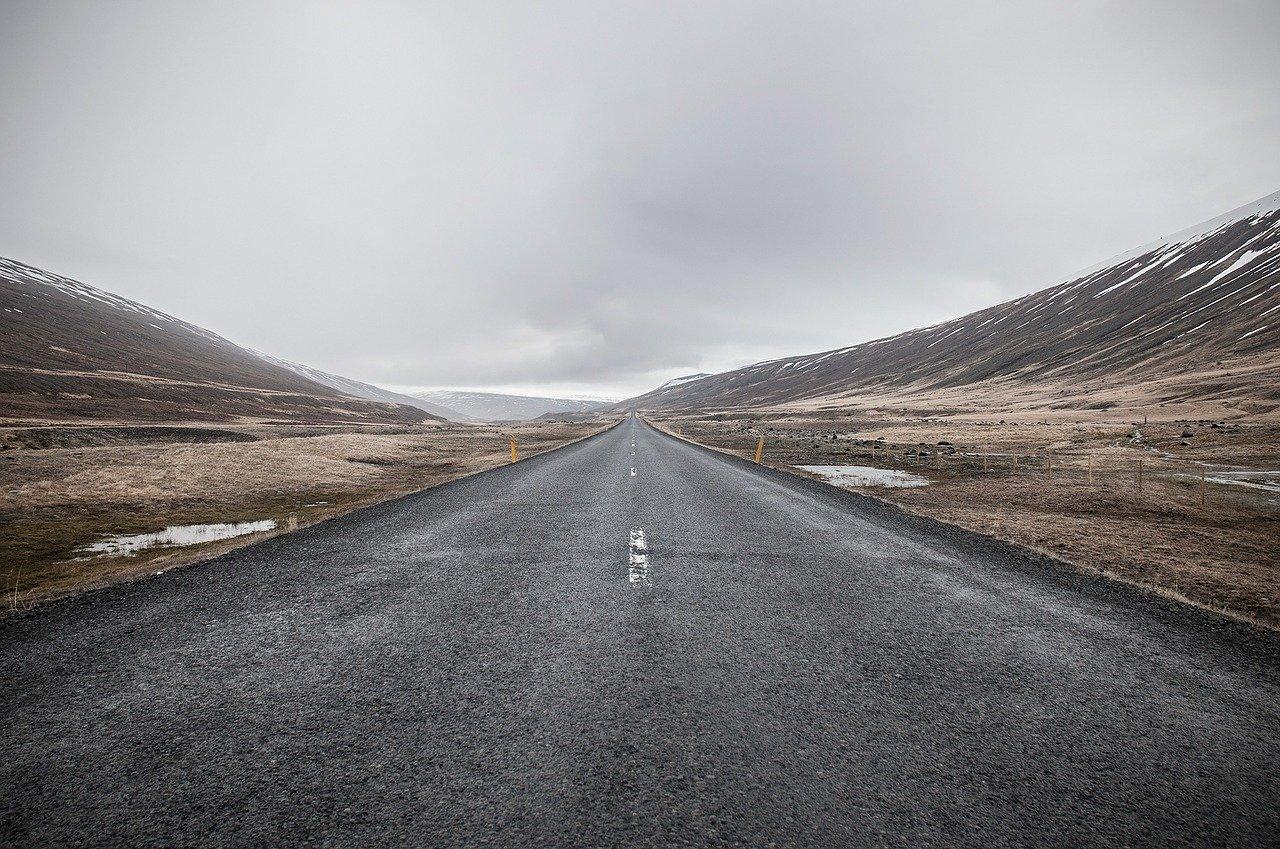
Image by Free-Photos (available under Pixabay License)
Create a Film Noir Effect
You can use displacement maps to enhance your portrait and create a unique film noir look. If you watch movies that belong to the film noir genre, you will often see shadow effects created with window blinds. This effect adds horizontal shadows to an image.
You can capture a photo of some window blinds and enhance saturation and contrast before adding Gaussian blur to create your displacement map. You can also use a white background and draw horizontal lines with the rectangular marquee tool. Play with blue and opacity to get a shadow effect.
Save your displacement map as a grayscale PSD file. Open the portrait you want to edit, and create a grayscale version of it to achieve a classic black & white Film noir effect.
Apply your displacement map and choose low horizontal and vertical scale values. Values between 15 and 20 should create the shadow effect you’re looking for!
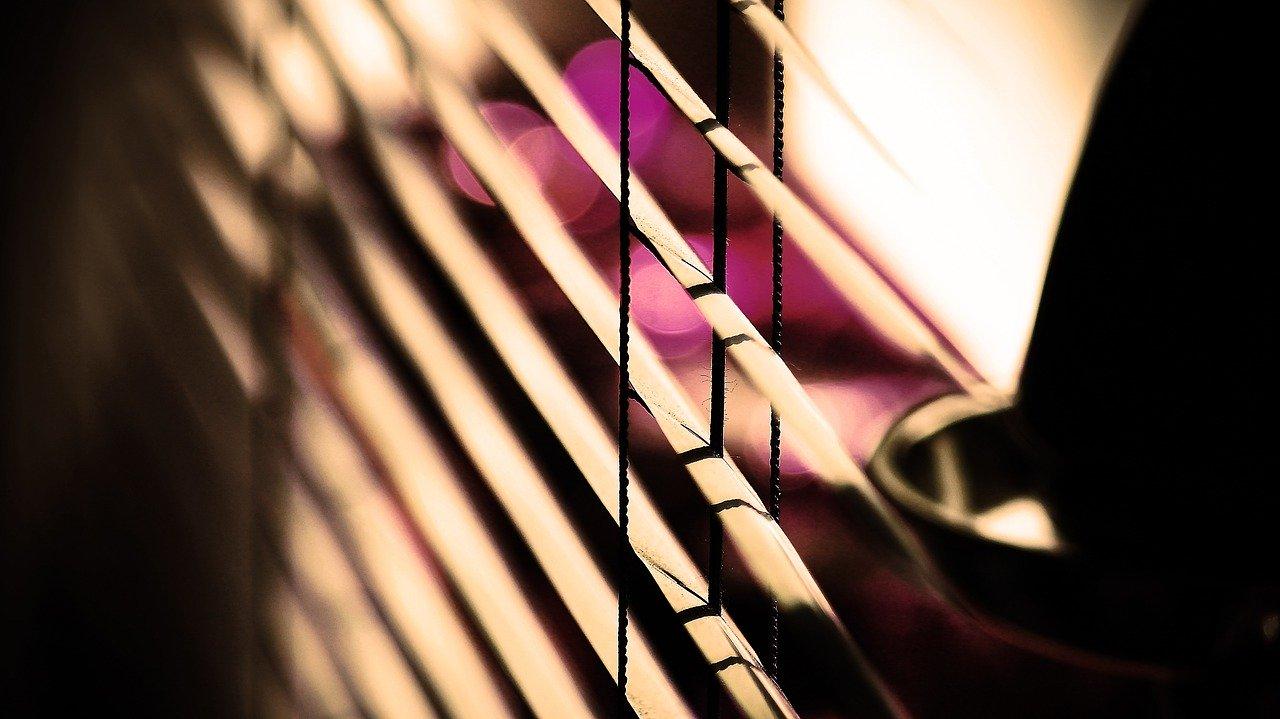
Image by yeniguel (available under Pixabay License)
Experiment with Water
Water is an interesting texture to work with. It’s a soft texture that creates a unique wrapping effect for text and other elements.
You can follow the steps described above to create a displacement map with an image of a body of water as your background.
We recommend using a higher Gaussian blur value for your text or logo. You should also use high vertical and horizontal scale values to achieve a softer wrapping effect when you apply the displacement map.
Opacity is another interesting slider to work with. If you increase opacity after wrapping your text, you can create the impression that your text is underwater.
Additional Questions
Here are plenty of possibilities to explore with displacement maps
- How to create a glitch effect with displacement maps in Photoshop?
You can use displacement maps in Photoshop to create a unique computerized glitch effect! Open the image you want to edit and open the filter menu. Select distort and wave.
The wave filter will distort your image. You can apply this filter more than once to achieve a glitch effect.
Create a grayscale PSD map by using a white background and drawing thin black lines over it. You can use different thickness values and spacing for an uneven glitch effect.
Click ok to apply your displacement map and adjust color and saturation to get a unique glitch effect!
- What is the difference between a normal map and a displacement map?
Photoshop lets you use different types of maps and filters. You might be wondering what the difference between a normal and displacement map is.
The purpose of a displacement map is to wrap an element. This tool distorts a portion of your image.
A normal map doesn’t distort your image. The purpose of a normal map is to add RGB information to your image to create a realistic 3D effect. It’s a tool you would use to indicate which portions of your image should look raised and where shadows should fall.