
Flat light. Golden hour. We’ll decode these and all the other lights professional photographers are talking about for you here!
Looking to improve your photography? Just enter any questions you have about improving your photography below and hit send and get answers & feedback instantly - for FREE! Submit QuestionsAs you begin your professional photography journey, you’ll hear lots of talk about flat lights as well as several other kinds of lights. And photographers have come up with about six dozen ways to describe light. Flat light. open shade, dappled light…so many terms it can be hard to keep them all straight!
Back when I hung out with a bunch of wildlife photographers but wasn’t much of a photog myself, I often heard the term skunky light. I had NO idea what this term meant, and I was also feeling too self-conscious to ask. I missed out on a great photography learning opportunity because I was afraid of looking foolish.
It can be intimidating to ask a professional photographer’s basic photography questions. So let’s break down all these different types of lighting while we talk about flat lights.
We’ll talk about what these terms mean and why they are important. That way you can start to better evaluate the flat light around you and use it to your advantage!
Flat Lighting Basis
As it turns out, skunky lighting was another term for flat light. But what is flat lighting? Basically, flat lighting is lighting that produces very little contrast in your scene. Flat means there’s very little difference (contrast) between the highlights and shadows in flat light.
Flat lighting is a common occurrence in photography, as flat lights can either be accidental or deliberate. You get flat lights mostly when you put broad and direct lighting to a subject or scene. The intense light hides details and depth, resulting in a flat, dull or two-dimensional image.
Also known as frontal shadowless light, flat lighting is the least dramatic of all photography lighting techniques. Flat lights produce uniform illumination across the subject and over much of a shot.
Flat Lighting Causes
Flat lighting takes its name from how the resulting image can look…flat and lifeless. Flat lights are caused by even lighting in an environment. Overcast skies, direct flash, and really well-lit situations can all produce flat lighting.
Direct Flash
Have you ever noticed driver’s license pictures or passport photos that look flat? They look flat because these normally use on-camera flash, pointing the flash directly at the subject. In effect, flat lighting removes most contrasts and shadows.
This is why a lot of shooters who know how to work with light often point their flash upwards to avoid flat lights. In some cases, they use off-camera flash to bounce the light and form shadows.
Overcast Sky
Overcast skies mean clouds cover the whole sky, resulting in flat lighting. When the sun comes out, the concentrated light slowly spreads out, producing a more direct, extreme lighting below the sun, yet less intense in other angles.
In some cases, the clouds can diffuse lighting evenly, acting as a giant softbox, creating even soft light that’s ideal for portrait photography.
Midday Sun
The sun is the biggest natural light available at your disposal. While it’s a fantastic light source of illumination most of the time, the sun can also be too bright and harsh around noon.
If the subject is facing the sun, then the sun might illuminate the face evenly and develop minimal contrast. Your shots may look flat due to even and direct lighting.
More than that, flat lighting from midday sun results in the stark contrast between shadows and highlights. This effect is the reason why you need to change angles when using natural light for outdoor photography.
Flat Light Disadvantages
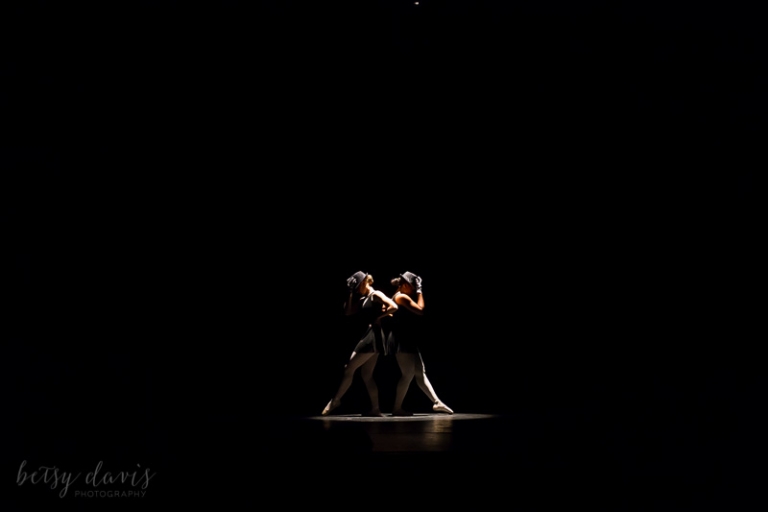
Flat light does minimal dimensional effect to draw a viewer’s eye into an image. In the image above, flat lighting results in a lack of depth and interest. The light is very even, shadows are gradual and there isn’t much contrast in the view.
It’s typical that you need to deal with available light at the time you take pictures. The loss of depth makes flat light challenging for landscape and nature photography, especially if you want to capture striking shadows and glowing rays.
Flat light doesn’t accentuate shadows or highlights, which can make any scenery lifeless. Hence, the colors and textures of your landscape shots won’t pop out.
Flat Light Advantages
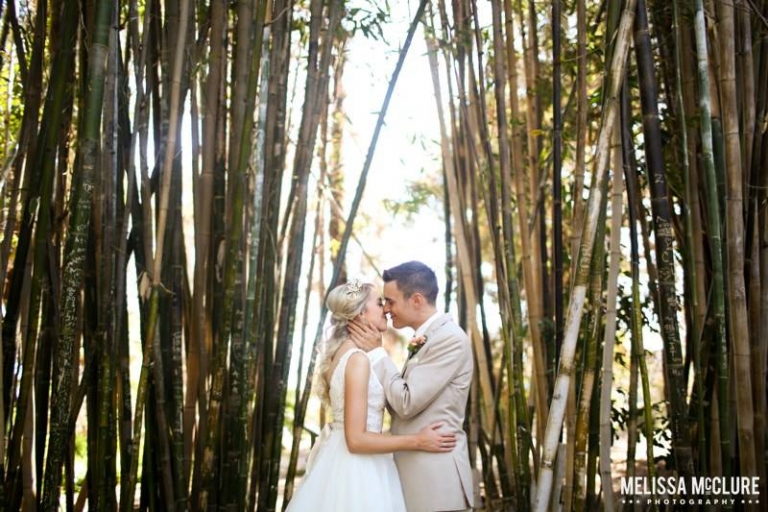
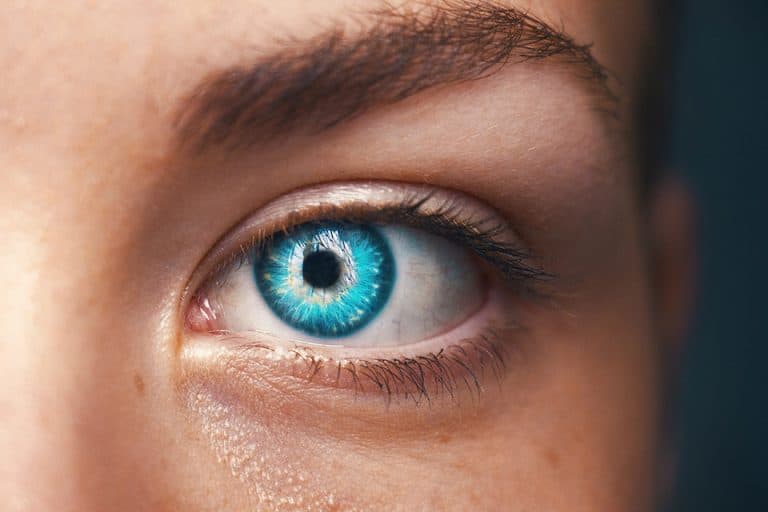
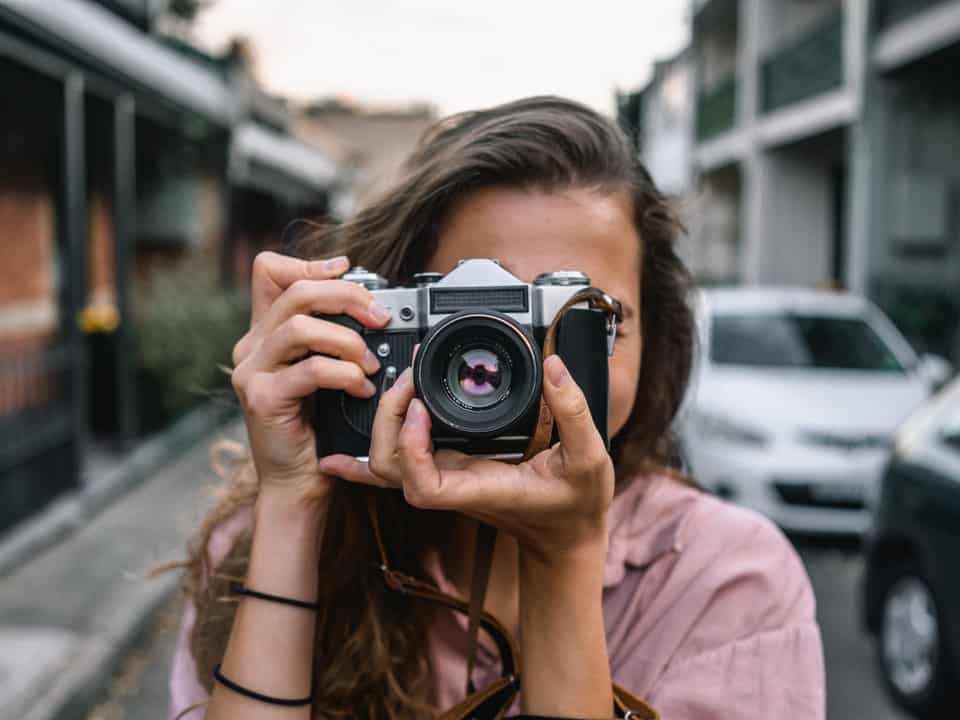
Flat lighting isn’t always bad. There are some conditions where you can use it to your advantage. In the example, the ladies’ expressions add life to the shot even if the light is flat. And there are times when flat lighting is actually desirable!
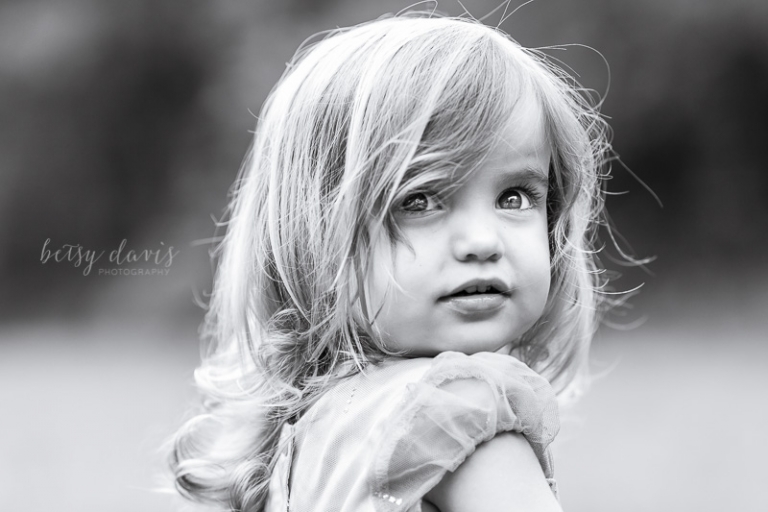
Fashion and beauty photography use flat lighting a lot. It helps hide skin imperfections, minimizes wrinkles, and smooths out the skin. The flat light fills in blemishes and cracks, making the skin flawless and flattering.
Flat lighting is also helpful when shooting big group shots. If there’s just a single light source coming at the subjects from straight on and up high, you minimize competing shadows and all the group members are evenly lit. Perfect for team and class photos or wedding party photos!
How to Avoid Flat Light
The good thing about flat light is that you can use it deliberately when necessary, and combat it when you need a different effect. These simple tips can help you avoid flat light, and consequently, add depth and details to your images.
Consider the Time and Weather
Shooting any kind of photography involves choosing the best time of the day. Additionally, weather conditions can impact lighting. Dull, grayish skies or cloudy conditions can result in challenging lighting conditions.
Midday may not be suitable for landscapes as the clouds cover the sun, scattering or blocking the light in various ways. If you want to practice outdoor photography, consider shooting early in the morning or late afternoon. Sunrise and sunset produce golden hours that minimize the chances of flat light.
Research Your Location
Scouting a location is essential in all kinds of photography, as this can help you plan what gear to bring, how to find the best light, and manage the corresponding camera settings.
Buildings, trees, or shades can create a flat light. Such information can help explain to clients why there’s a need to reschedule the shoot or change locations. Should a client insist on shooting at a site, time, and weather conditions that guarantee flat light, you can think of a plan to counter it.
Create Your Own Lighting
If flat light prevents you from achieving a dramatic effect on your photographs, then you need to make your own lighting. By analyzing the light source of flat light, you can practice using the following equipment to combat it.
Speedlight
Use an off-camera Speedlight to add fill light, which can help you create shadows and highlights. Make sure to bring a light stand to keep it still. As long as you know how to operate a flash, you can improve the exposure of your images despite working in an environment with flat light.
On-camera flash
In case you only have an on-camera flash, you can still avoid flat light by changing your shooting angles. Take test shots and see which combination of perspective and light gives you the result you need. Sometimes, it’s merely a matter of repositioning yourself or the subject.
Reflector
When sunlight fills the frame, and you lose image clarity, you can use a reflector for popping some of the light back into your subject. Ideally, hold the reflector opposite the light source, then adjust the angle to guide the light where you need it. Moving it closer to the subject generates more illumination.
Change Your Compositions
As a photographer, you know how angles also play a role in catching rich, dynamic lighting. In fact, an excellent composition can save images taken in uninteresting or flat light.
If you truly want to capture a shot in overcast weather, try not to include the sky in the composition. Reposition the camera in a way that the sun isn’t directly above you. Move until you find the angle that forms shadows and contrasts.

Understanding Dappled Light
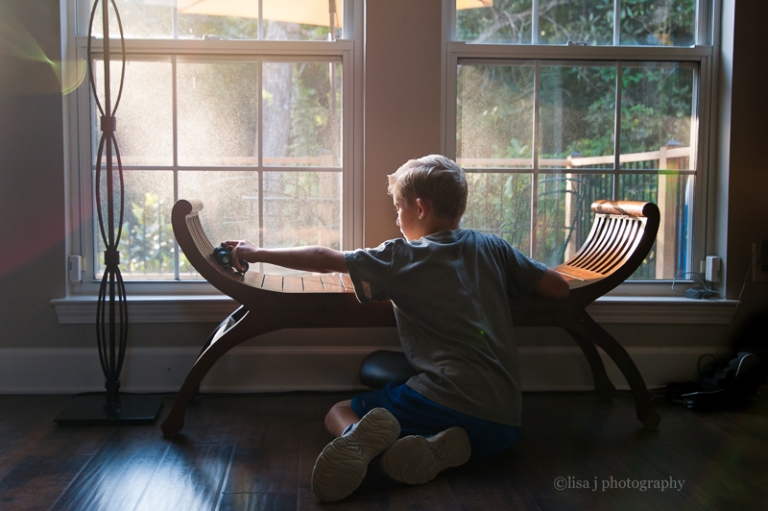
Dappled, by definition, means marked with spots or rounded patches. You might have heard a spotted horse or dog referred to as dappled. Small pockets of light are coming through into your frame. Trees, window shades or even stained glass windows can create dappled light. It can create a pretty scenery, but dappled light on your subjects’ faces or clothing can create distracting patches of light.
If you find yourself shooting in dappled light, be mindful of those distracting spots. Sometimes you can simply shift your subjects a few inches in any direction and you’ll eliminate those bright spots. If you can’t eliminate all those bright spots, make sure there aren’t any on faces or upper torsos.
In the image above, the window is creating some dappled light in the frame. There are pockets of light on the baby’s head, their legs, and torsos.
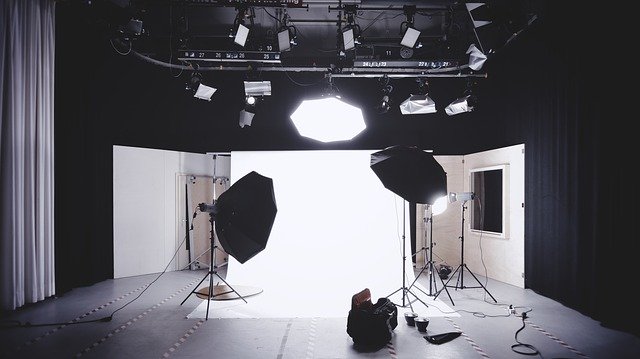
Understanding Artificial Light
Artificial light is any man-made lighting. It can come from lamps, flashes, or overhead fluorescent lights. It’s the opposite of natural light, which is sunlight.
Understanding Backlighting
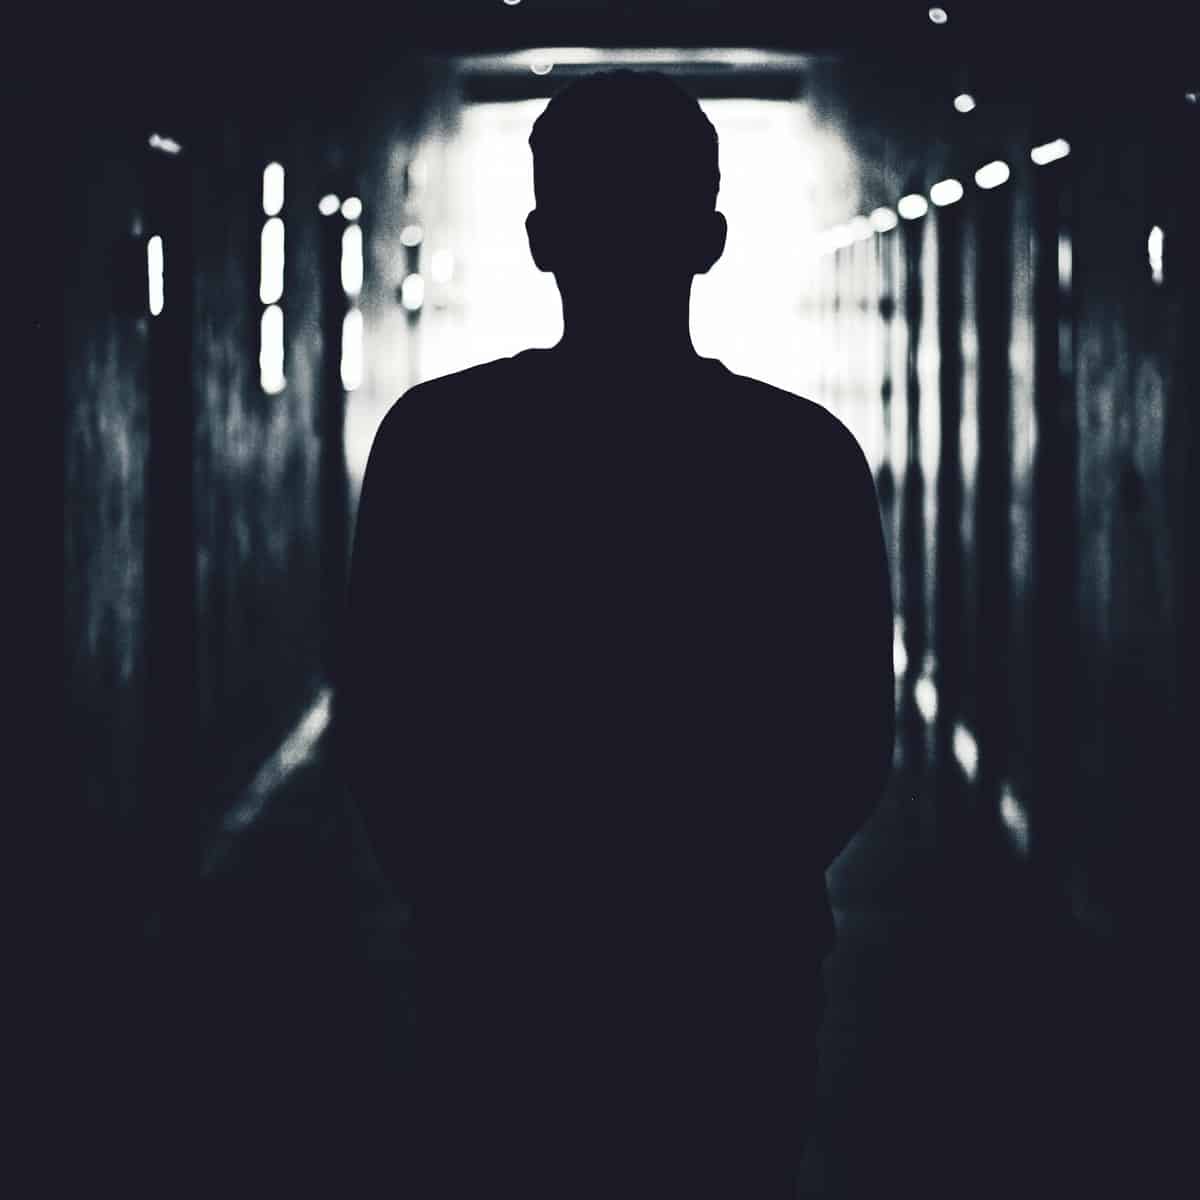
Backlighting is simply light illuminating the back of your subject. In the right conditions, backlighting can enhance your images by creating lots of contrast and drama. It creates those beautiful sunset silhouettes or puts a soft light around your subject’s hair.
However, backlighting isn’t limited to sunsets or sunrises. Any situation where the soft light behind your subject is brighter than the light falling on your subject is actually backlighting. Doorways, screens or windows can all create amazing backlighting!
Don’t fear backlighting! We’ll tell you how to use it to make amazing images!
Understanding Rim Lighting
Rim lighting is a lot like backlighting, but instead of hitting your subject from behind, the light hits them from behind and to the side.
This also refers to the act when a photographer places a flash to the side or to the side and slightly behind so the outer edges of the subject are lit up ever so slightly.
Rim lighting can help outline the subject and separate it from the background. When a rim light hits only the hair, it’s also called a hair light.
See our tips for nailing sunset silhouettes!
Open Shade vs. Deep Shade
Open shade refers to the area where subjects are in shade but illuminated by reflected direct light.
Open shade is a soft light that is more flattering than direct sunlight. Subjects aren’t squinting against the sun and the light source is less specular, meaning shadows are created gradually.
Meanwhile, deep shade is where very little ambient lighting reflects back into the scene. The edge of trees can provide open shade, whereas under a deep awning or in a tunnel would be deep shade.
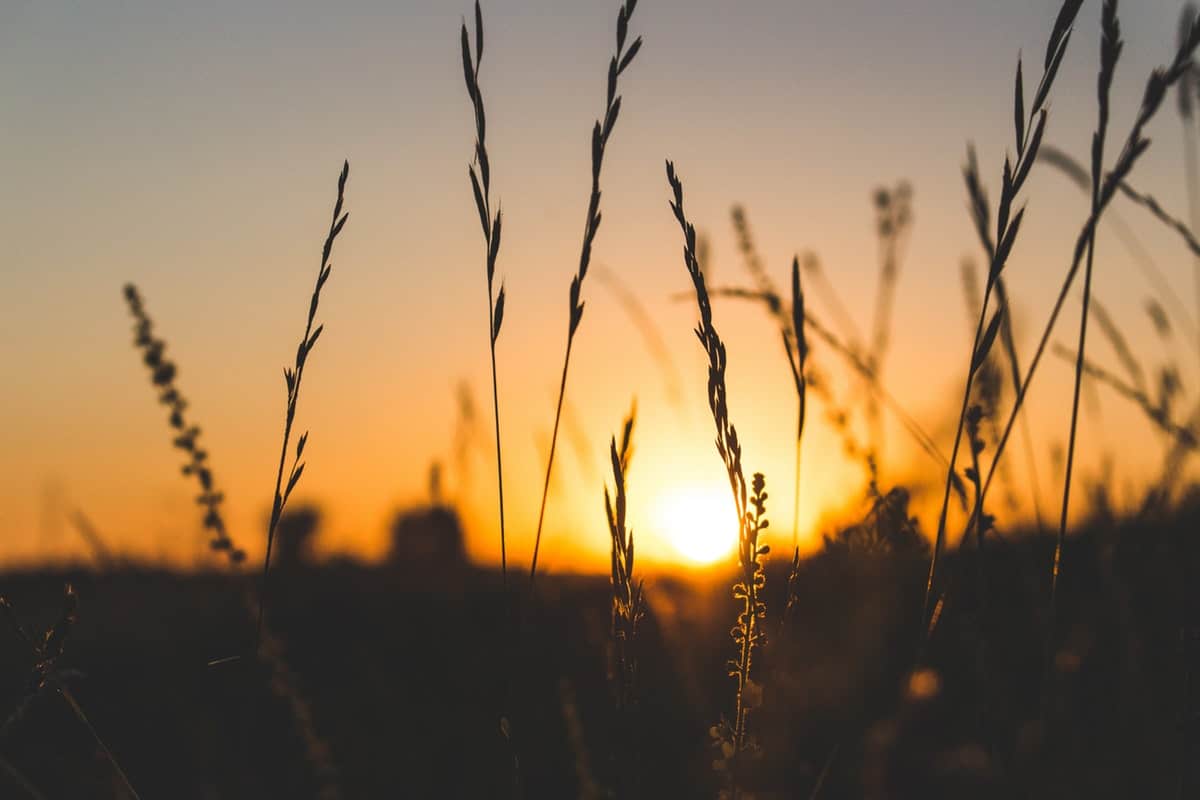
Golden Hour vs. Blue Hour
Golden hour is the hour before sunset or after sunrise. It happens when the sun is low in the sky and closer to the ground, relatively speaking. The light becomes softer and takes on a richer hue. You’ll see reds, orange, blues and pinks in addition to that beautiful golden hue.
Golden hour creates long, soft light and shadows. It makes beautiful illumination for portraits, architecture, and landscape images.
Click here for tips on shooting in golden hour!
On the other hand, blue hour is the hour after sunset or before sunrise. The sun has set or hasn’t risen yet, but there is still some residual sunlight in the atmosphere, giving the sky a beautiful blue. Instead of being solid inky black, the sky is often a lovely gradient from horizon to sky. Blue hour is a great time to shoot cityscapes, landscapes and seascapes.
Blue hour is a bit of a misnomer. We call it blue hour, but it only lasts around 20 to 40 minutes.

The Study of Light
Understanding how to use light to your advantage is at the heart of photography. Start evaluating the light around you at different times of the day.
Study its direction and quality. Watch how shadows affect your subject and how quickly an area goes from light to dark. Then think about how you could use that light to create the effect you want in your image!
Understanding your camera and settings and nailing composition is important. But the best shooters know light, its qualities, its shadows and the emotion it elicits. They use it to not only flatter their subjects but also to tell a compelling story.
And study the work of others. Look at their images and evaluate the light in the scene. Would you call it flat light Does the photographer create separation between the background and subject with rim lighting or backlighting? How would different lighting change the tone and feel of the image?
So ask questions about flat light. Ask questions about your gear. Ask questions about composition. Flat flight, skunky light… learn what they mean, how to use them and you’ll be well on your way to becoming a pro yourself!