
If you’re just venturing into photography, you may be wondering what is f-stop and where you can find the F-stop settings. In this article, we’ll define what is an f-stop, how it works, when to use it along with some quick instructions for changing this setting on the most popular camera brands.
Looking to improve your photography? Just enter any questions you have about improving your photography below and hit send and get answers & feedback instantly - for FREE! Submit QuestionsWhat is F-Stop?
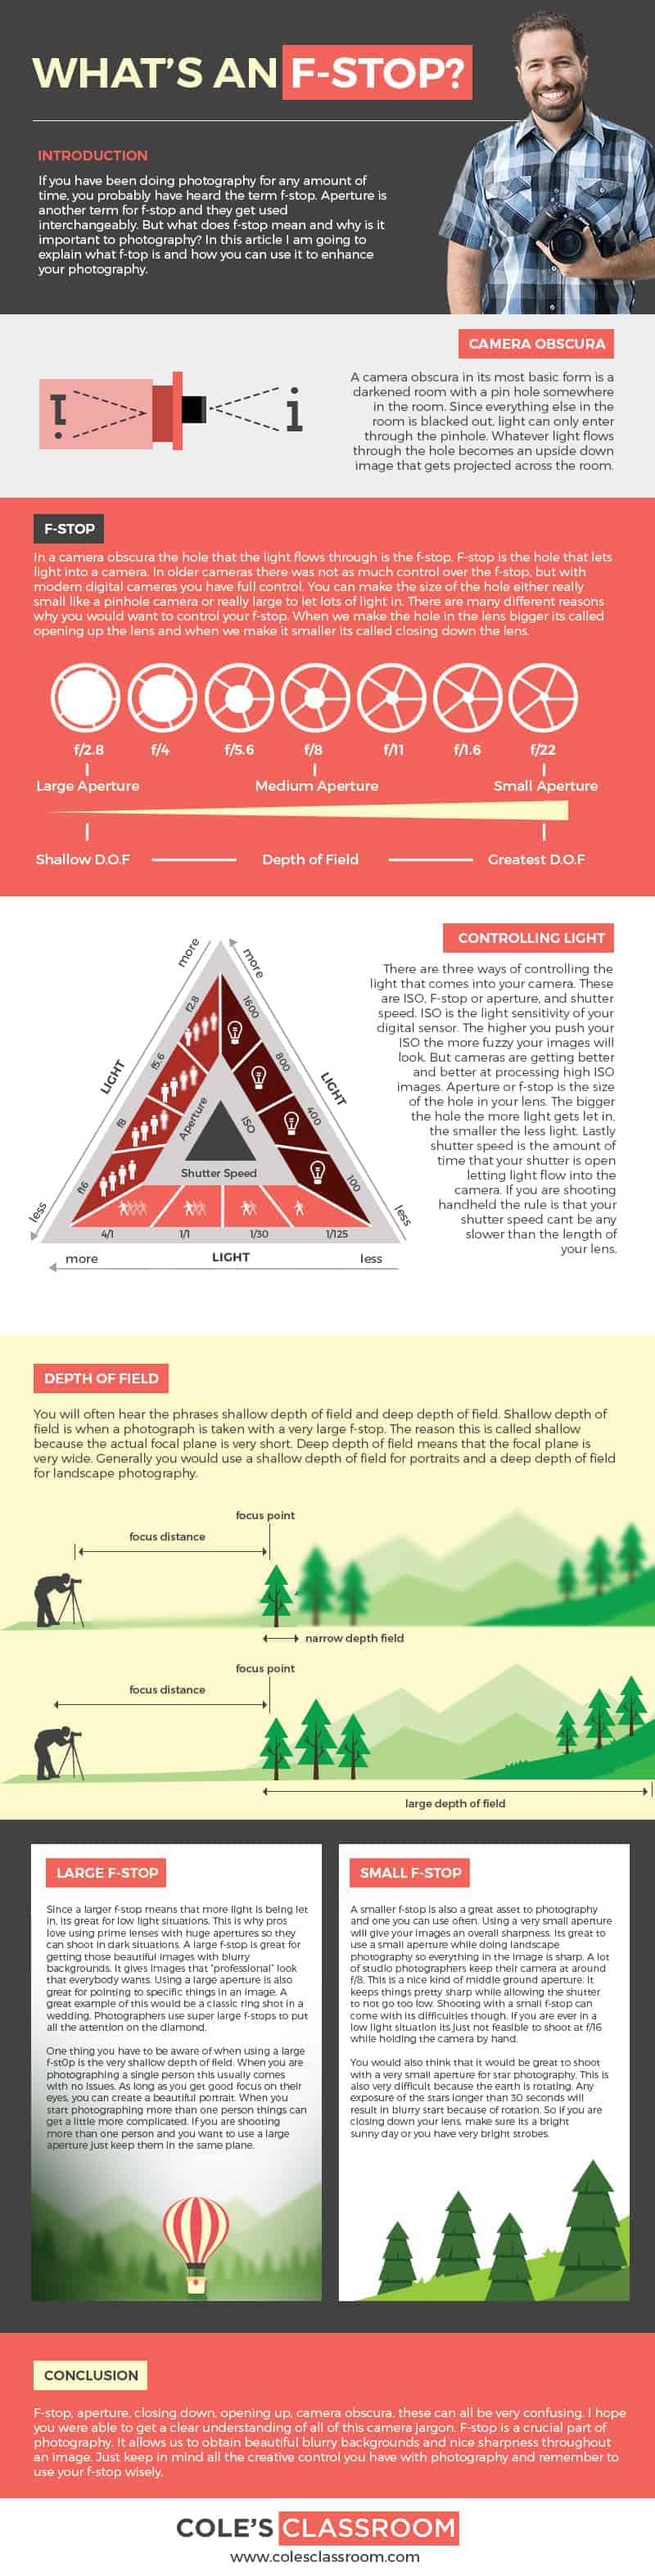
The F-stop is part of the three components that make up the exposure triangle in photography. It refers to the aperture setting, the command that controls the size of the opening that allows light into the camera.
Are F-stop and Aperture the Same Thing?
F-stop stands for the aperture. The aperture is the function and the f-stop number is the actual command to control the aperture size in the camera.
This is technically the setting that measures the amount of light that is let into your lens opening through a hole. The larger the hole, the more light that gets in, while a smaller hole lets less light in. This is set by the f-stop numbers on your camera whose range is determined by the lens that you are using.
Different lenses allow different f-stop numbers. The higher the f-stop number, the smaller the hole, the smaller the f-stop number the bigger the hole.
This hole is actually a set of blades that move together to create the opening that lets the light inside. They form a near-perfect circle and open up or shut down according to what you choose.
When cameras first came around with the automatic mode feature, we lost some control over our exposure settings. The ISO, the shutter speed, and the aperture became words only used by professional photographers.
There is nothing wrong with using the automatic mode on your camera, but learning how the ISO, shutter speed, and f-stop work in conjunction with each other will make you more aware of how your camera functions and give you access to all its capabilities.
Some situations actually require you to have full control of the camera settings because it may misread the environment. Sunrises and sunsets are perfect examples of this. If you like silhouette photography, mastering the f-stop is highly recommended in order to achieve those perfect shots.
The f-stop setting you choose will have an impact on the amount of light that is let into your camera lens and will also determine the depth of field.
This scale is measured in numbers and can be as low as f/1.2 or f/1.4 or as high as f/22 (or even higher on certain cameras).
Remember: A big f-stop number means a small opening and a small f-stop number like f/1.2 or f/1.4 means a wide opening.
Understanding Settings & Aperture in Just 2 Minutes!
The exposure triangle refers to these three fundamental elements that are key to obtaining perfectly exposed shots.
- Aperture
- Shutter speed
- ISO

How to Change Your F-Stop
If you were using your DSLR on the full-automatic mode in the past, this was set for you and you had very little control over the depth of field and he amount of light that was let in through the opening. You didn’t even have to think about changing this setting.
When in automatic mode, your camera would analyze the environment and provide the best possible exposure using the exposure triangle features. Now that you are out of automatic mode and experimenting with manual or other semi-automatic modes, a world of opportunities will arise for you.
All camera makes and models are different and their control buttons are not always in the same area. You will need to read through your manual and find out exactly where your control is for the aperture.
We recommend you watch a tutorial of someone explaining your exact camera. Watching someone actually go through the motions while you have your camera in hand can be a lot simpler for you instead of fumbling around trying to figure out the controls on your own.
Here are some instructions for changing the f-stop on the most popular camera brands:
How to Change F-Stop on a Canon
- Set your camera to “manual mode,” “aperture priority mode (AV)” or “programmed automatic (P) mode.”
- Locate the AV button that is on the top right-hand side of the display. Adjust the f-stop number with the slider that is next to the shutter button at the top.
How to Change F-Stop on a Nikon
- Put your camera in “program mode (P),” depress the shutter button until you see the activated meter.
- Turn the sub-dial right or left depending on which setting you wish to use. You will notice the f-stop number decrease as you turn left (wider aperture) and increase as you turn right (smaller aperture).
How to Change F-Stop on a Sony
- Set your camera to manual mode and depress the shutter release. You should notice the meter activate.
- Turn the control dial right or left according to the f-stop number you wish to use. Turning the dial right will give you a smaller aperture and turning it left will give you a wider aperture.
When to Change Your F-Stop
Blurred Background Vs In-focus Background
You can easily set the mood for your images by knowing how to play with depth of field. The depth of field is important and will let you decide if you want a blurred background or a fully focused background. This will have an impact on the mood, warmth, and feeling of your image.
When the camera is in automatic mode, it takes all possible parameters into consideration and chooses the best possible outcome for you without really knowing what your intentions are. You as the photographer will have to tell the camera how you want your photo to turn out and how your background will look. This is taking control of a creative feature that will definitely make your photos look more professional.
How F-Stop Affects Depth of Field
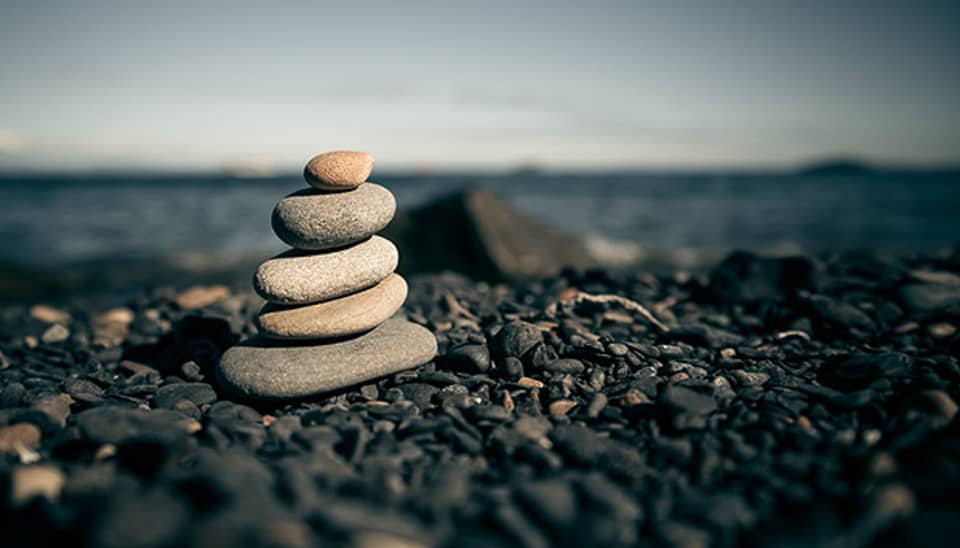
The number one thing you control with the f-stop is the depth of field. Sometimes you will want to have a shallow depth of field and have focused on your subject.
If you want a dreamy looking image with lots of bokeh in the background, you will need to set this setting to a large aperture. The lens you are using will determine the parameters of your options.
The wider lenses tend to be more expensive. Always try to purchase the lens with the widest f-stops available for your budget. This way you can be more creative with your photography. The lenses with an f/1.2 or f/1.4 aperture can provide very shallow depth of field but tend to be on the pricey side.

There are two types of lenses on the market, prime lenses, and zoom lenses. Prime lenses are designed to function with a fixed focal length and the zoom lenses are made to work with a variable focal length.
Many photographers misunderstand the concept of focal length. The focal length is the millimeters (mm) number that you see on the lens. That doesn’t mean that the focal length of a camera lens is the lens’s physical dimension.
In fact, the focal length of the lens has little to do with its overall size. The primes lenses, those that work with a fixed focal length and with only one mm number, will offer maximum aperture and more creative options.
Remember: The smaller the available f-stops on your lens, the shallower the depth of field. A shallow depth of field means you will be capable of achieving blurrier backgrounds
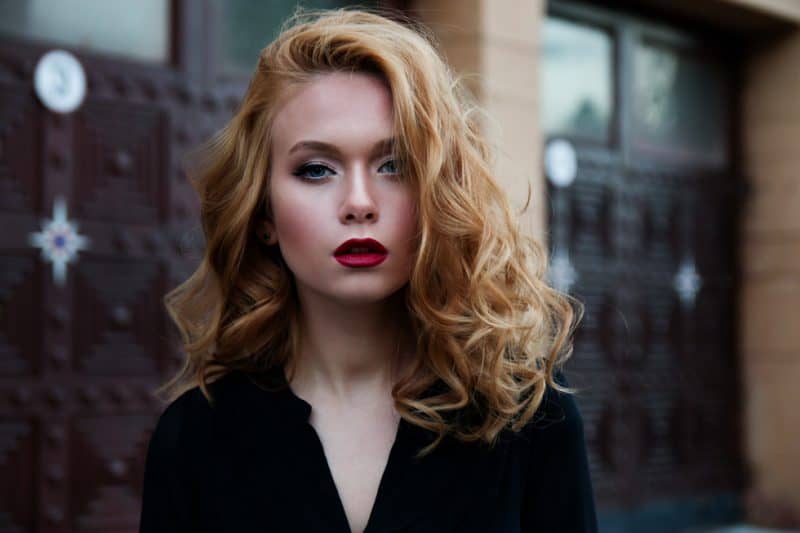
Portraits
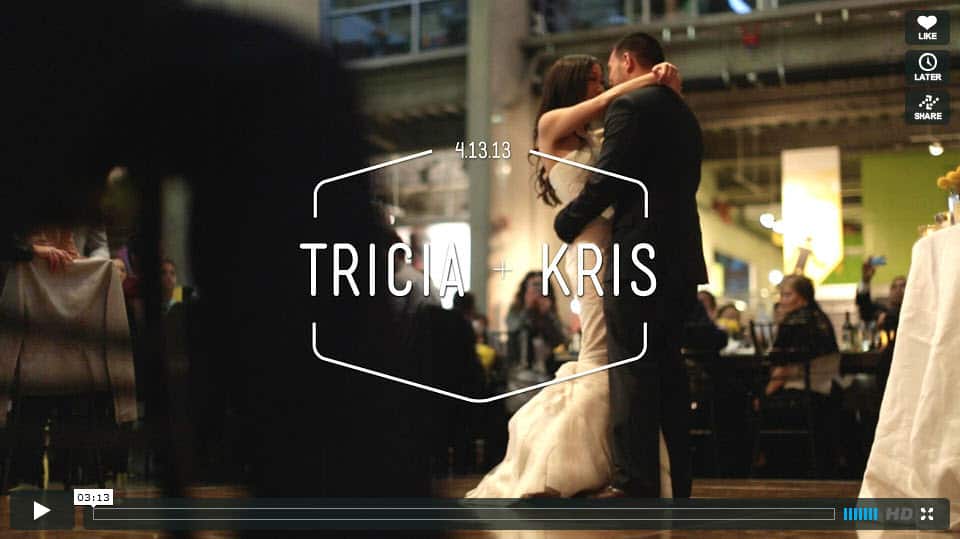
When photographing people or taking portraits, it’s always interesting to have the focus on the person and not the background. You obviously want the attention on the person in the image and you want the viewer’s eye to remain mostly on this person and not the background.
One way to do this is by widening the aperture to diminish the depth of field and, consequently, blurring the background. Try to focus on the person’s eyes and not on an object in the background or another body part.
When your f-stop number is set low (wide open aperture), you will have a very shallow depth of field and everything that is in the foreground and background of your focal length point will rapidly lose focus and become blurry the further away it gets.
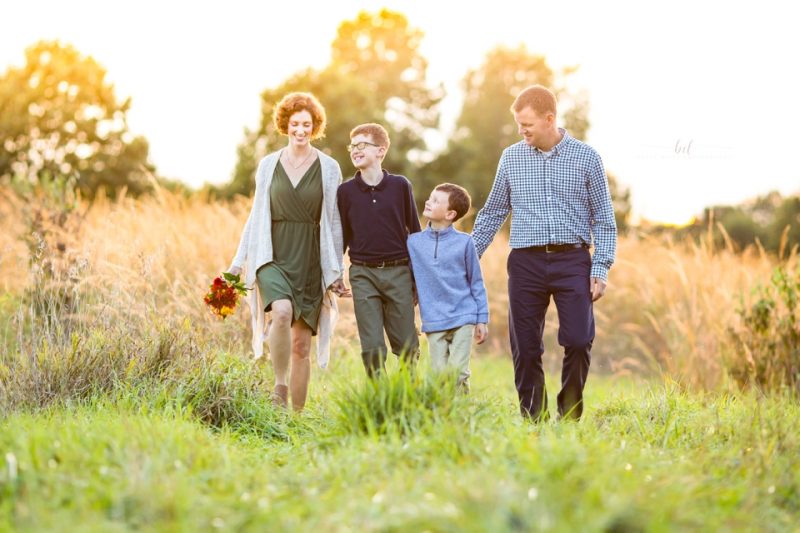
Groups
If your depth of field is shallow (low f-stops number) and the people are not lined up evenly, you will end up with some people in focus and others out of focus and blurry.
If it’s not possible to line up the people, then lower your aperture (raise the f-stop number) to make sure to get a good evenly focused image. Remember that if you raise your f-stops, the background will become more in focus and less blurry.

In Low Light
When you are working in low light it is best to use a wider lens aperture. The smaller the f-stop number, the more light that can get through your lens. This helps the ISO to remain on the low side and also provides access to fast shutter speed.
The higher the ISO setting, the grainier your photos will be. Sometimes you will need to raise the ISO because the light is not adequate, but by widening your aperture, you will see that your ISO will not have to go to a high level to achieve a well-exposed photo.
Working with a slower shutter speed will augment the chances of camera shake, and there is nothing that says “amateur” more than unfocused and shaky photographs. Sometimes the light is very low, and even with your best efforts, the shutter speed will remain low. This is where tripods and camera stabilizers come in handy.
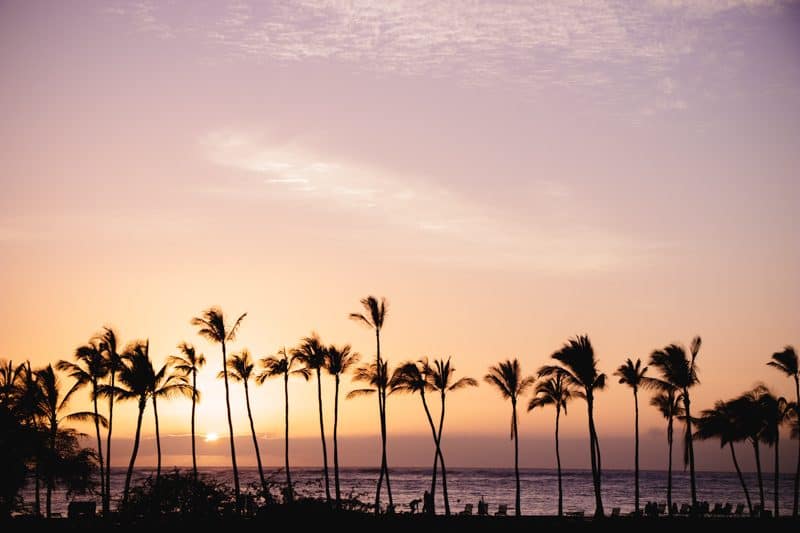
Sunrises/Sunsets
This is where your knowledge will come in handy if you want to capture what you are seeing. Using a lower aperture will help capture this moment. This sometimes means that you will have to stabilize your camera in order to avoid shake.
Because the sun is quite far, using the high f-stop number will keep the landscape in focus and provide a better overall focused photograph.
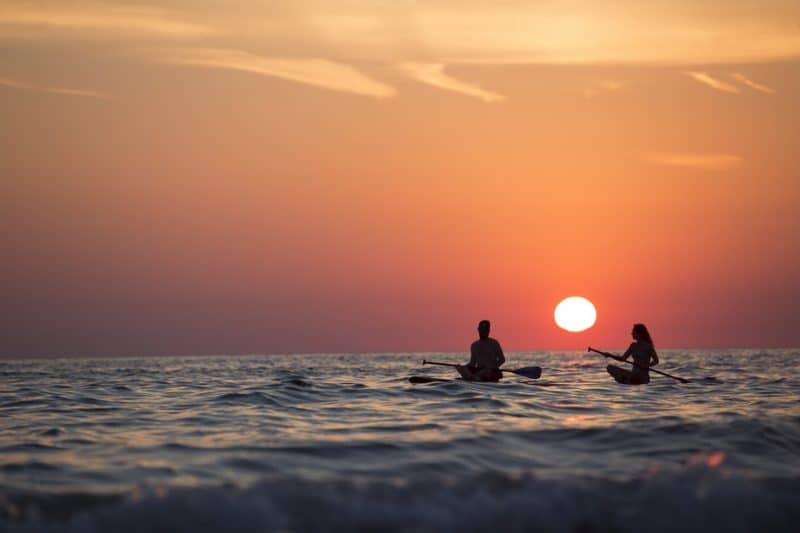
Silhouettes
This can be a fun project that you can easily achieve by controlling this setting and telling the camera to focus on the brightest part of the scene. Silhouette photography will give you moody and creative photographs.
When experimenting with silhouette photography, you will want to expose the background’s brightest area and set your camera to a low aperture. Raise the f-stops and make the opening smaller, try using f/11.
When you get more accustomed to the settings on your DSLR, you may step out and try some new and different things, but these simple ideas will help get you started. When you master the use of your aperture setting, you may begin to experiment with more options.
What F-Stop to Use
Portraits
To accomplish successful portraits, you may try setting it to approximately f/2 to f/4. Any f-stop number lower than f/2 may result in having a blurry nose when focusing on the eyes.
Some lenses come with f/1.2 or f/1.4 capacity, but be careful when using this extremely wide maximum aperture. Any f-stop number above f/2 or f/4 will put the background into focus when using this wide maximum aperture and take attention away from the person on the photo.
Recommendation: f/2 to f/4
Groups
When photographing a group, remember that if you use a wide aperture (small number) you will have some people out of focus if they are not lined up perfectly. An f-stop of f/2 or f/4 is usually a good idea.
Depending on the number of people you have in your group, you may try to widen your maximum aperture than f/2. If you are photographing outside, you may keep it high, but if you are in an inside setting, you will have to lower it to let more light into the camera.
Recommendation: f/2 or f/4 and up
Landscape

When photographing landscapes, you will want a small aperture (high number) in order to capture as much of the scenery as possible. Shooting above f/8 is recommended in order to have a well-focused photo with a small aperture.
You may use higher numbers than f/8, even to f/22 in some landscapes that have excellent light situations. Your goal is to have all the elements in the photograph in focus. Having a wide depth of field with a high f-stop will let you achieve this.
Recommendation: f/8 and above
Food
You will want to focus on the food or the plate and make the background blurry. To get this image, you have to keep your maximum aperture as wide as possible. You can use an f-stop as low as f/1,2 to keep your maximum aperture wide and get those awesome shots.
Make sure to keep your focal length point on what is the most attractive in the photo. By mastering this setting you too can become a food photographer!
Recommendation: f/1,2 to f/4
Silhouettes
When choosing to photograph silhouettes, you will need to set a high number like f/11. The smaller the aperture, the better. You will want evenly focused photos with your subjects and the background clear. Focus on the brightest part of the background and see what happens to the people or subjects.
Recommendation: f/11 and above
Why Use a High F-Stop?
You will want to use a high f-stop number when you are photographing landscapes or night photography with a tripod. When you raise the number, the amount of light that is let into your camera diminishes because the hole becomes smaller.
Remember the blades we talked about earlier? When you set it to a higher number, these blades shut down and make the opening smaller.
Why Use a Low F-Stop?
A low lens is faster and is also usually more expensive. The lower the number you use, the more light you let into your camera. The hole gets wider with every lowered f-stop. Having a wider opening creates a shallower depth of field which means it’s a very good idea for portraits.
Experiment with Your F-Stops
Try a little exercise by taking several shots of the same setting with different f-stops to see the impact that the depth of field has on your photos. Remember to focus on the same object in every shot to have this exercise be useful.
Example: Place a fruit bowl on a table with a background that has many elements. Place your bowl the farthest away from these background objects. Decide the angle of your shot and focus on one of the fruit in the bowl. Set your f-stops to the lowest number your lens will allow and take a photo.
Now raise it a few numbers and shoot again. Do this several times with different numbers always keeping the same focus on the same fruit. Look what happens to the background!
Aperture Priority
If you have this option, you may want to try this when getting to know aperture and how it affects your photographs. Putting your camera into aperture priority will tell the device to choose the ISO and the shutter speed depending on the environment that it analyzes all the while letting you choose the f-stops.
This is a great mode feature that lets you keep creative control of the depth of field while not having to fuss over the other 2 elements of exposure. Aperture priority mode may not work in settings that pose challenges, like low light or fast-moving objects.
We do recommend that you get to know the ISO and the shutter speed of course. By having knowledge of their functions and impact on your shots will only help make you a better photographer.
If you choose to shoot in aperture priority, notice how the ISO and the shutter speed change according to the setting that you give it. You will notice that if you choose a high number, the ISO will go up and the shutter-speed may lower.
Bringing Your Skills to the Next Level
Many professional photographers shoot in aperture priority. We don’t all shoot in full manual mode all of the time. The difference is that we know exactly the other two elements in the exposure triangle and how they affect our photography.
It’s always best to take the time to learn the exposure triangle and how it works in order to fully comprehend what our camera is doing.
Sometimes the location makes it so that it’s quicker to let the camera determine the shutter speed and the ISO. The environment will be analyzed by the camera and the shutter speed and the ISO will automatically be set to take the best possible photo in the best exposure that it can.
This only goes to show how important the aperture is. This is the number one element that gives you creative control over the depth of field and consequently setting the mood for your photo.
If you want those blurry backgrounds, you will need to tell your camera to do it because it will not automatically assume that this is what you want. You achieve this with a wide aperture or a small number.
Before going into aperture priority mode, you have to learn your settings in manual and get comfortable with each element in the exposure triangle. Like in all art forms, by knowing the rules, you can then break them (or cheat them).
Remember that the wide aperture you need for the blurred backgrounds require the smaller f-stops numbers, and the shallow aperture needed to have fully focused landscapes need a higher number like f/8.
Portraits and people: f/2 to f/4
Landscapes: f/8- f/22
Food or small objects: f/1.2 (if your lens allows it) to f/4
When you become familiar with this setting and start experimenting with the lenses you have available, you will see your photography skills taken to the next level. Happy shooting!